

Build Log: Battery Organization
While I don’t mind being invested into multiple battery platforms, keeping all the different batteries organized can be a heck of a challenge. This can be particularly challenging if you’re also trying to organize outdoor power equipment (OPE) batteries too — those can be quite bulky and their added weight can be tricky to properly support. I’m primarily into the Ryobi 18V, Milwaukee 18V (and some 12V) and EGO 56V platforms so I’ve got my work cut out for me.
I have a few other battery systems (Worx 20VMax, Black&Decker 20VMax and a one-off Mastercraft/Craftsman 12V) but those are relatively insignificant — they can go in a drawer as I don’t use them often.
Quick Links
Starting Point

Simple beginnings
I originally started with the Ryobi system and then later expanded to include Milwaukee and then EGO so starting out, this was a relatively simple affair: I mounted the charger to a sheet of plywood and hung it on a cleat. I added a couple cubbies to hold extra batteries/accessories and called it a day.
Goals and Objectives
After collecting some/many/most of my batteries that I wanted to organize, it was very obvious that I couldn’t really do a single, monolithic setup like I previously had. Well, I could, but it wouldn’t be easy to build out or fun to work hang up (and I didn’t really have a piece of scrap that could accommodate it all). My plan was to go with a single board for each battery platform where everything would be mostly self-contained to that board.
A lot of the organization for my batteries would hinge around consolidating the chargers into a ‘bulk charging setup’:
For my Ryobi gear, I bought a Ryobi supercharger (the original, Model P125) a few years ago and it really helped to keep the charging situation manageable. Ryobi has since released an upgraded model, the P135, but for the way I built my organization system out, I don’t think it would have worked out as well.
For my Milwaukee batteries, I had a single combination 12V/18V charger (Model 48-59-1812) that I got with my very first Milwaukee kit; I also had a pair of M12-only chargers that I got with my heated jacket (Model 48-59-2401). Milwaukee has a lot of different charger options that considered:
Getting another combination charger (although I would probably get the faster-charging mode, 48-59-1811) for a total of 2x12V and 2x18V slots
Getting a dual-port M18 charger (model 48-59-1802) for a total of 1x12V and 3x18V slots
Replacing my existing charger with a 4-port M12 charger (model 48-59-1204) and a 6-port M18 charger (model 48-59-1806) for a total of 4x12V and 6x18V slots
Getting a single combination-charging-station (model 48-59-1807) for a total of 3x12V and 3x18V slots
I ultimately decided on the single combination-charging-station just to minimize the physical footprint required. I also liked that installing the batteries would be “head on” rather than on an angle like my existing charger — this was a knock on the 6-port M18 charger as well - the ergonomics/UX of working with it: there just too many different orientations for the batteries.
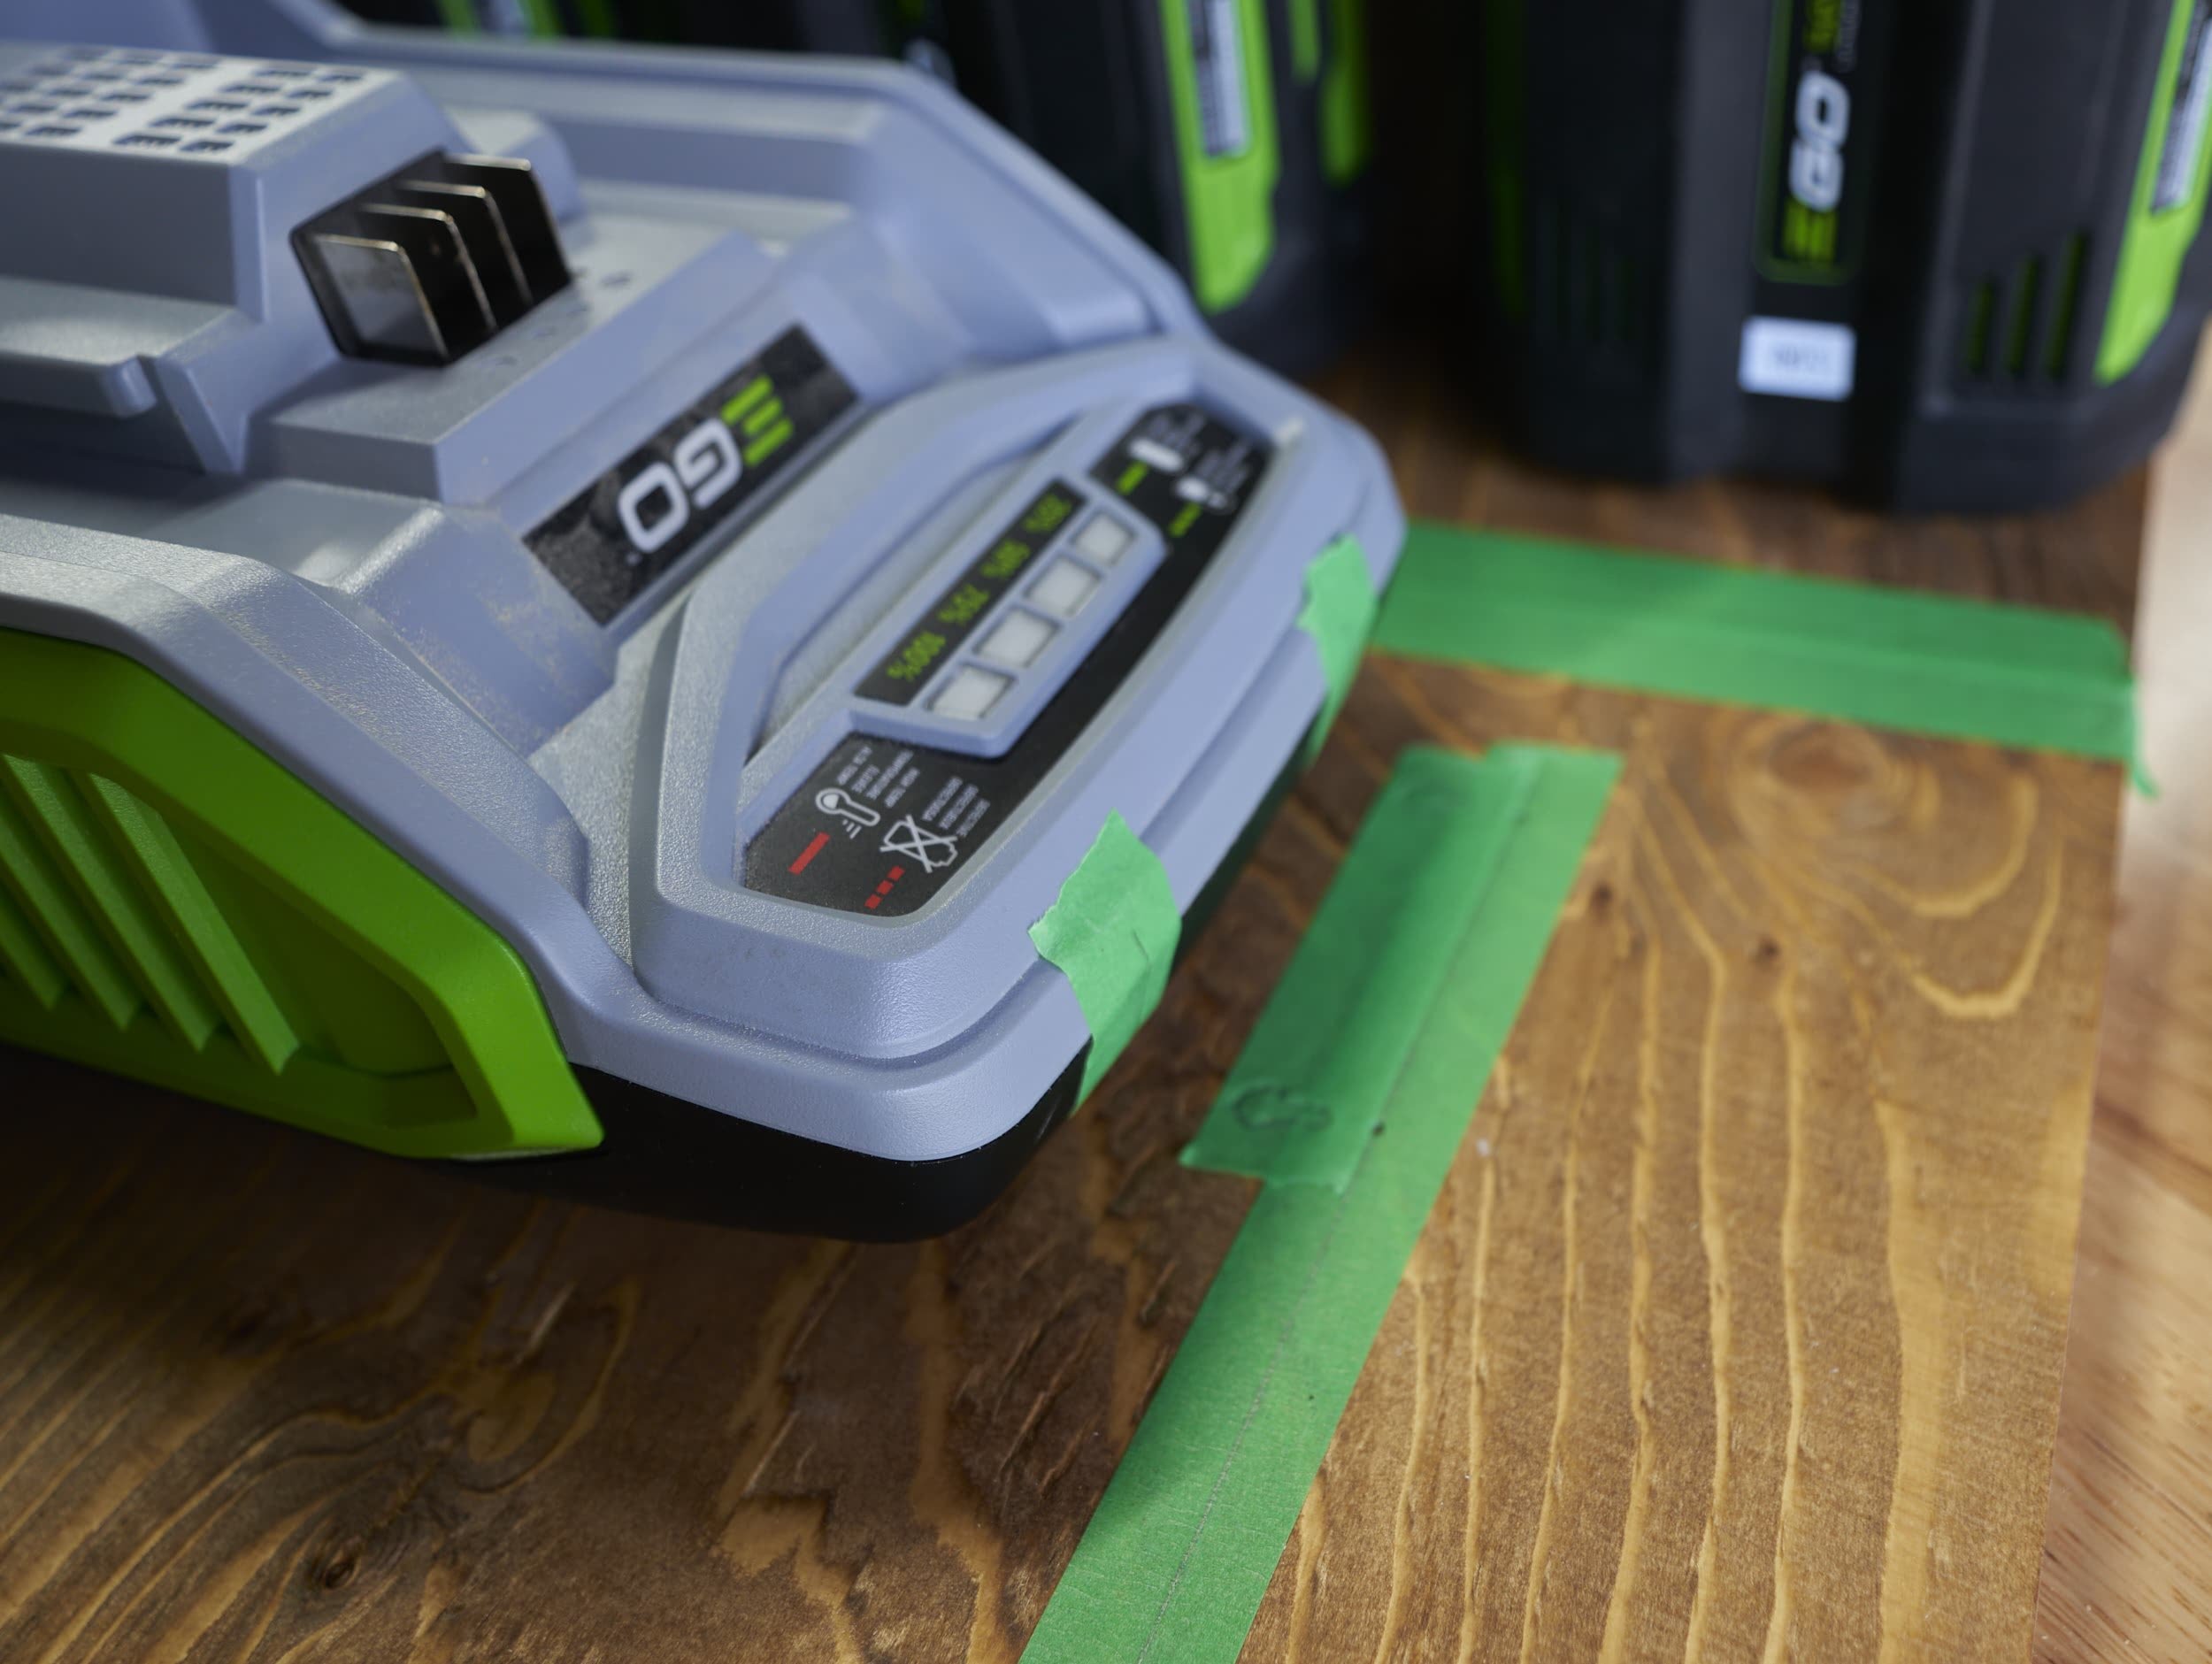
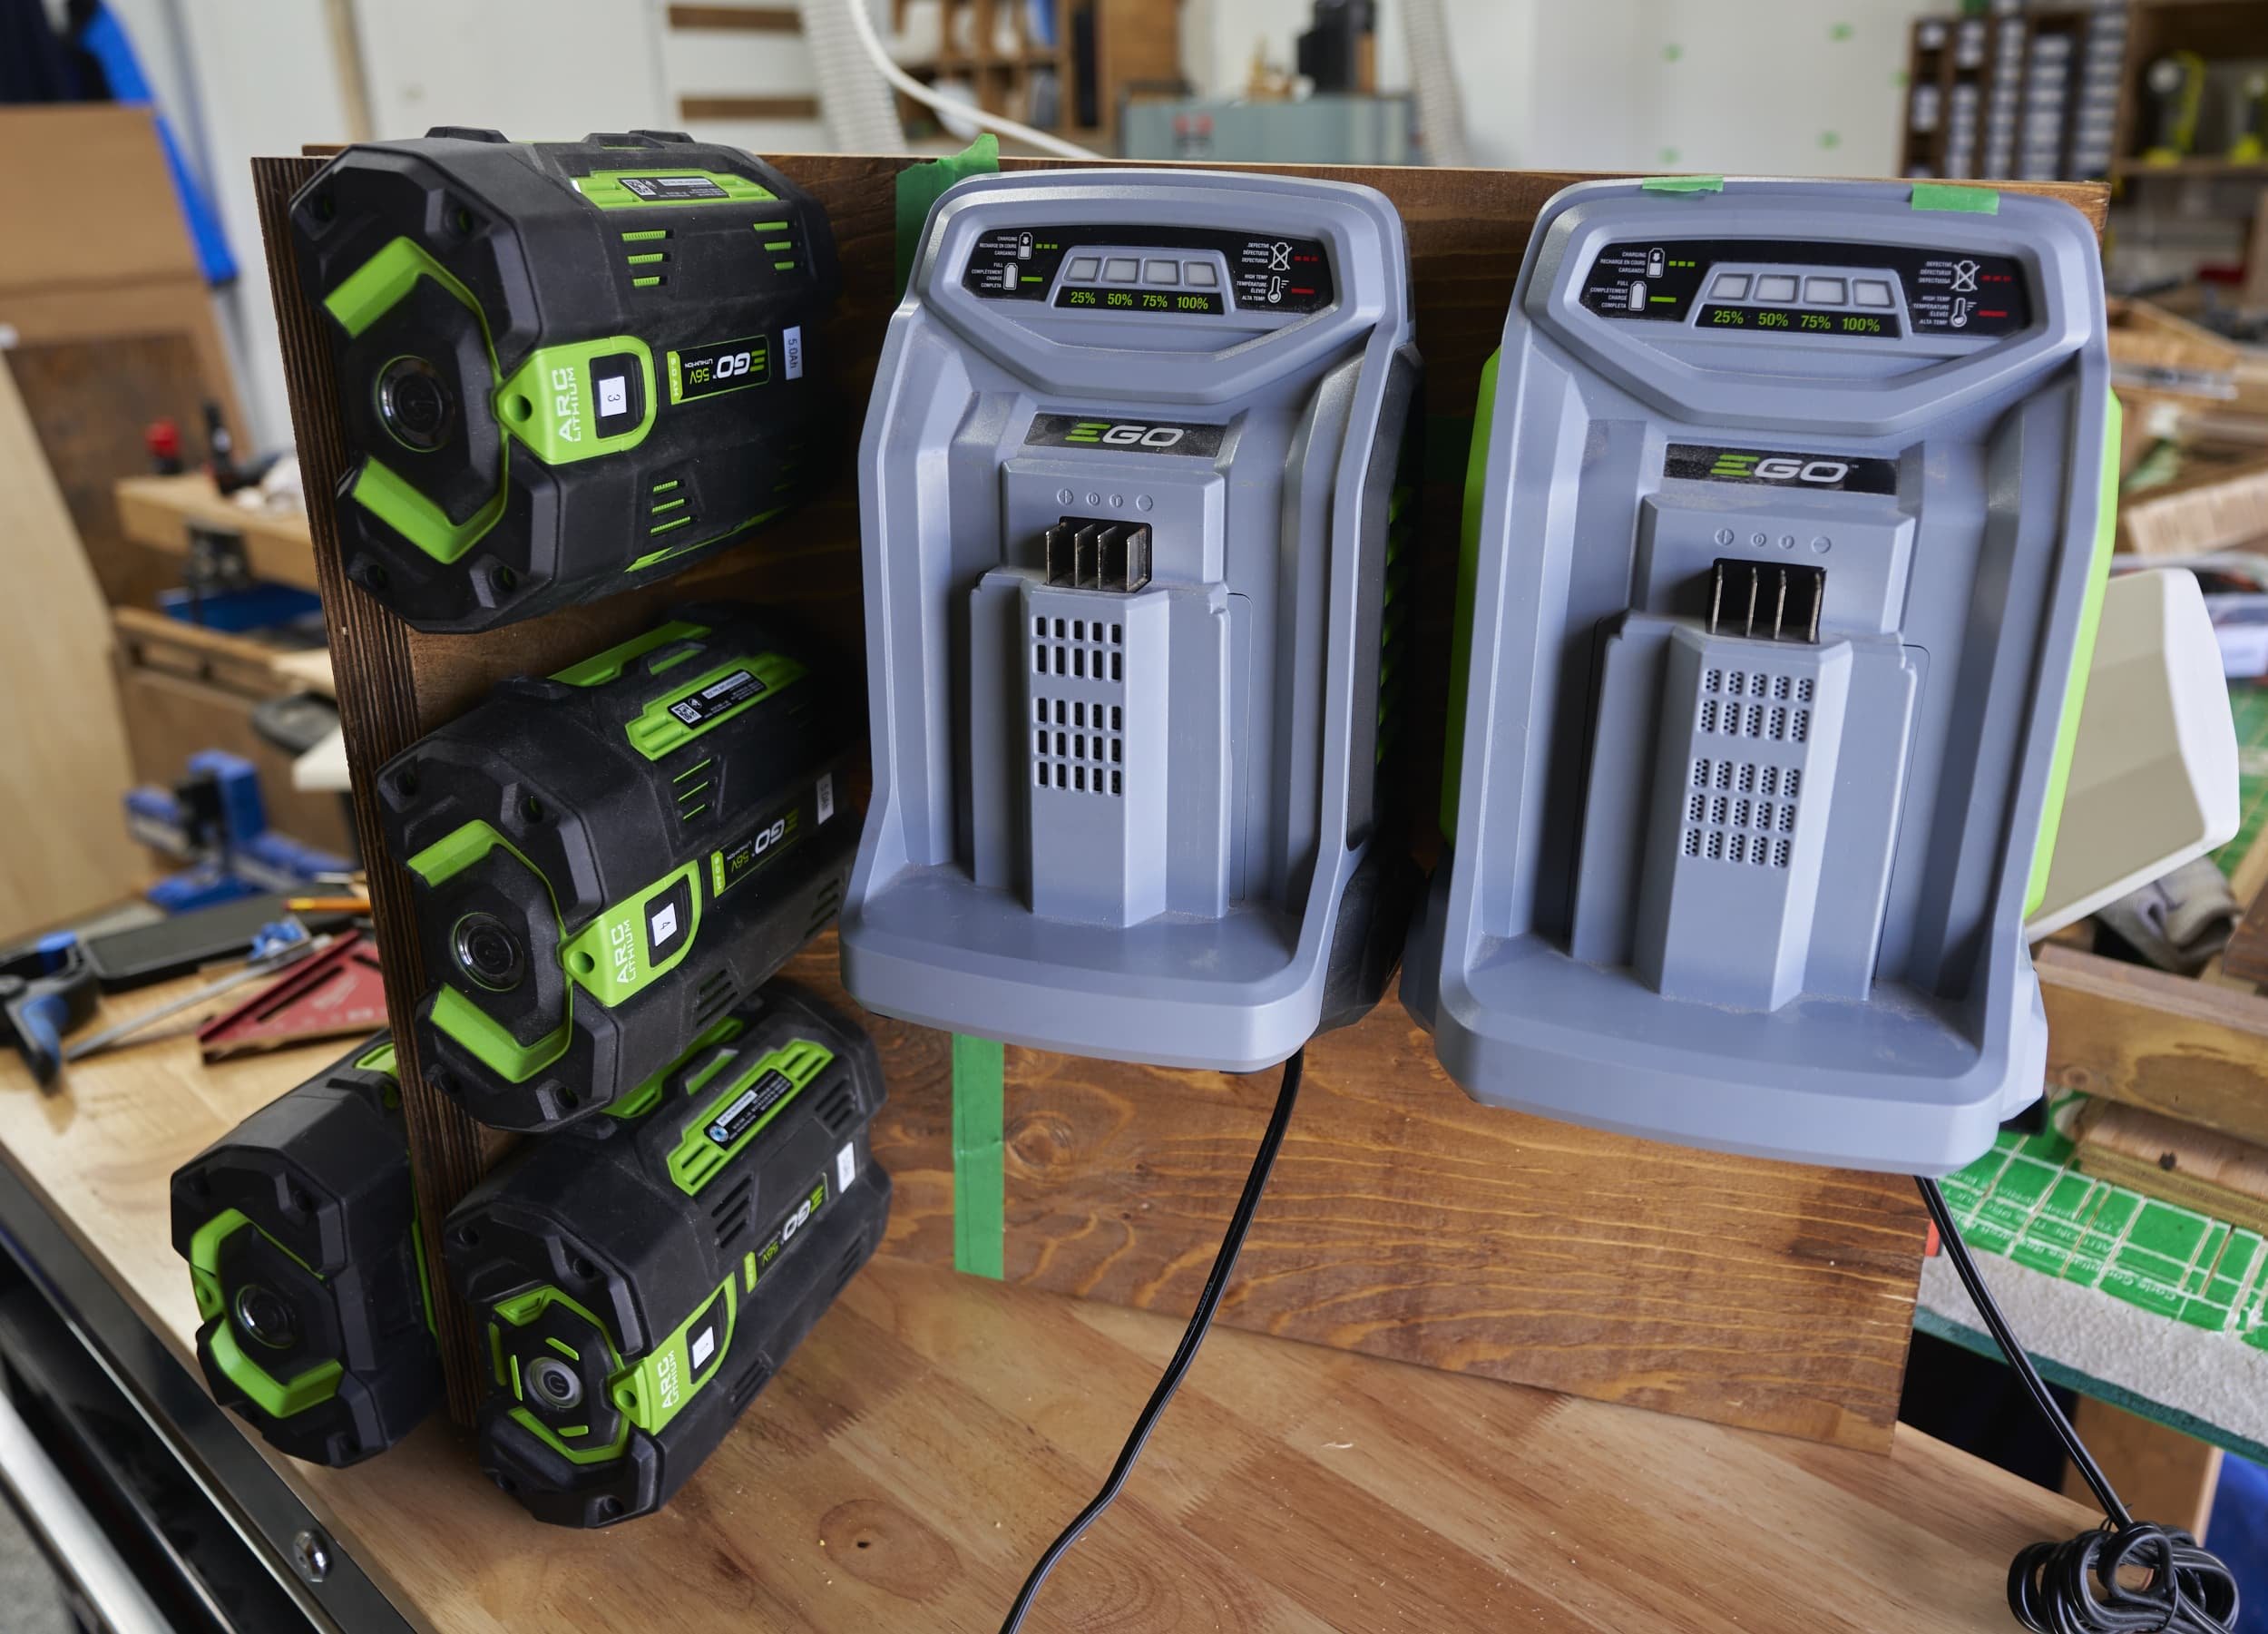
For my EGO batteries, I already had two of their Rapid chargers (model CH5500) and while EGO does make a dual-port charger (model CH2800D), that would be an additional expense and cutting the charging speed roughly in half (500W per individual battery versus 560W combined for two), all to save a bit of foot print. Since I never need to charge more than two batteries at a time, I opted to stay with my existing dual-charger setup.
I have a few miscellaneous battery systems at play (Black & Decker 20VMax and Worx 20VMax) but those are very much one-off tools so I’m not considering them at this time.
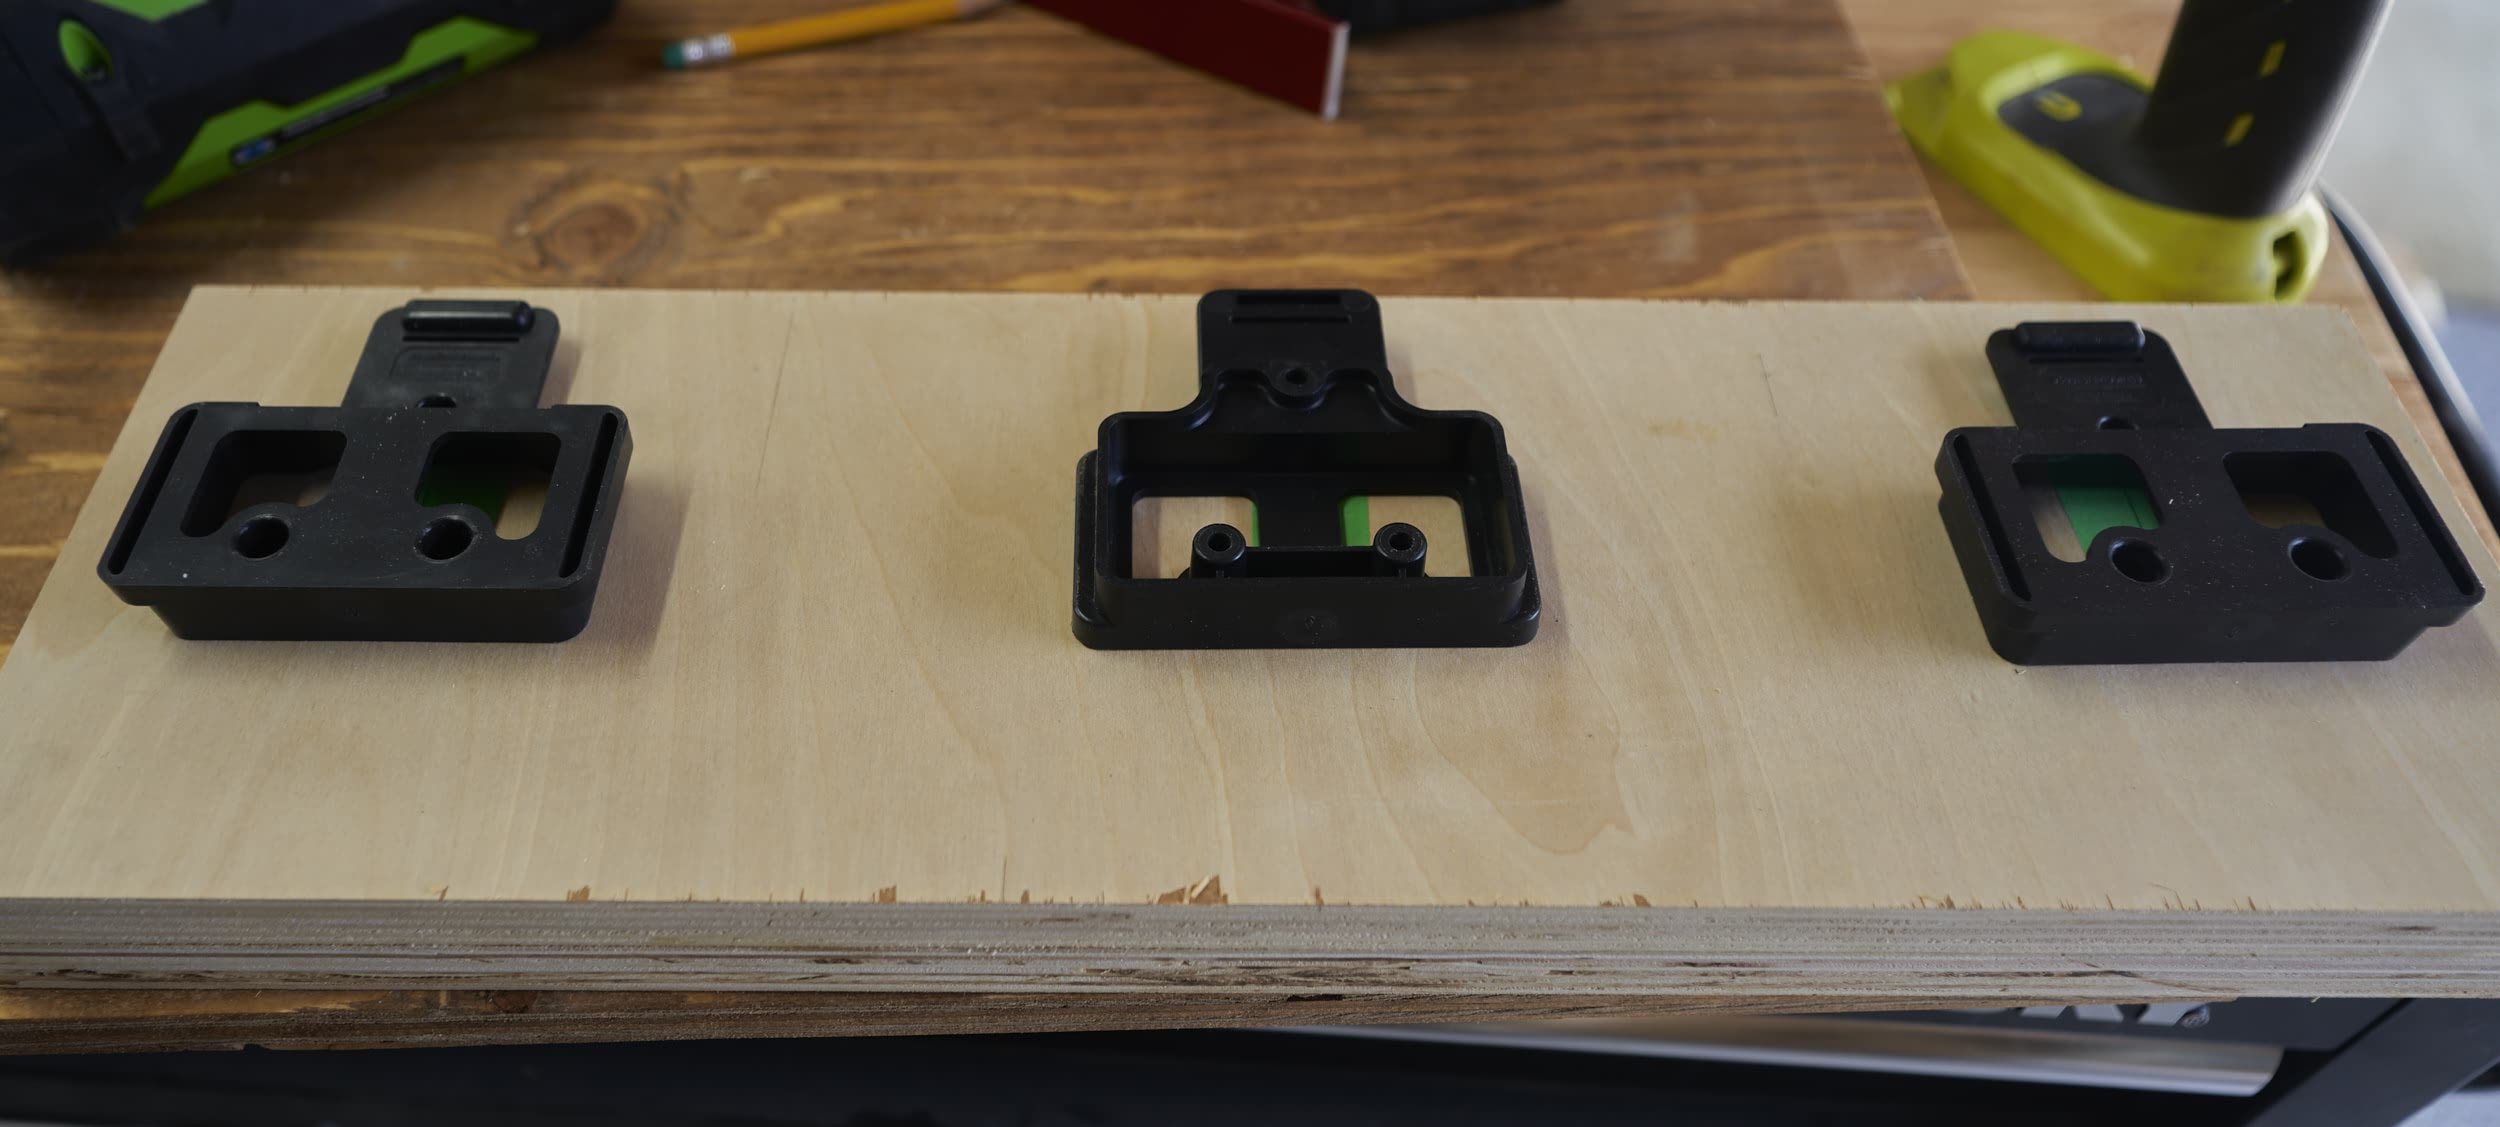
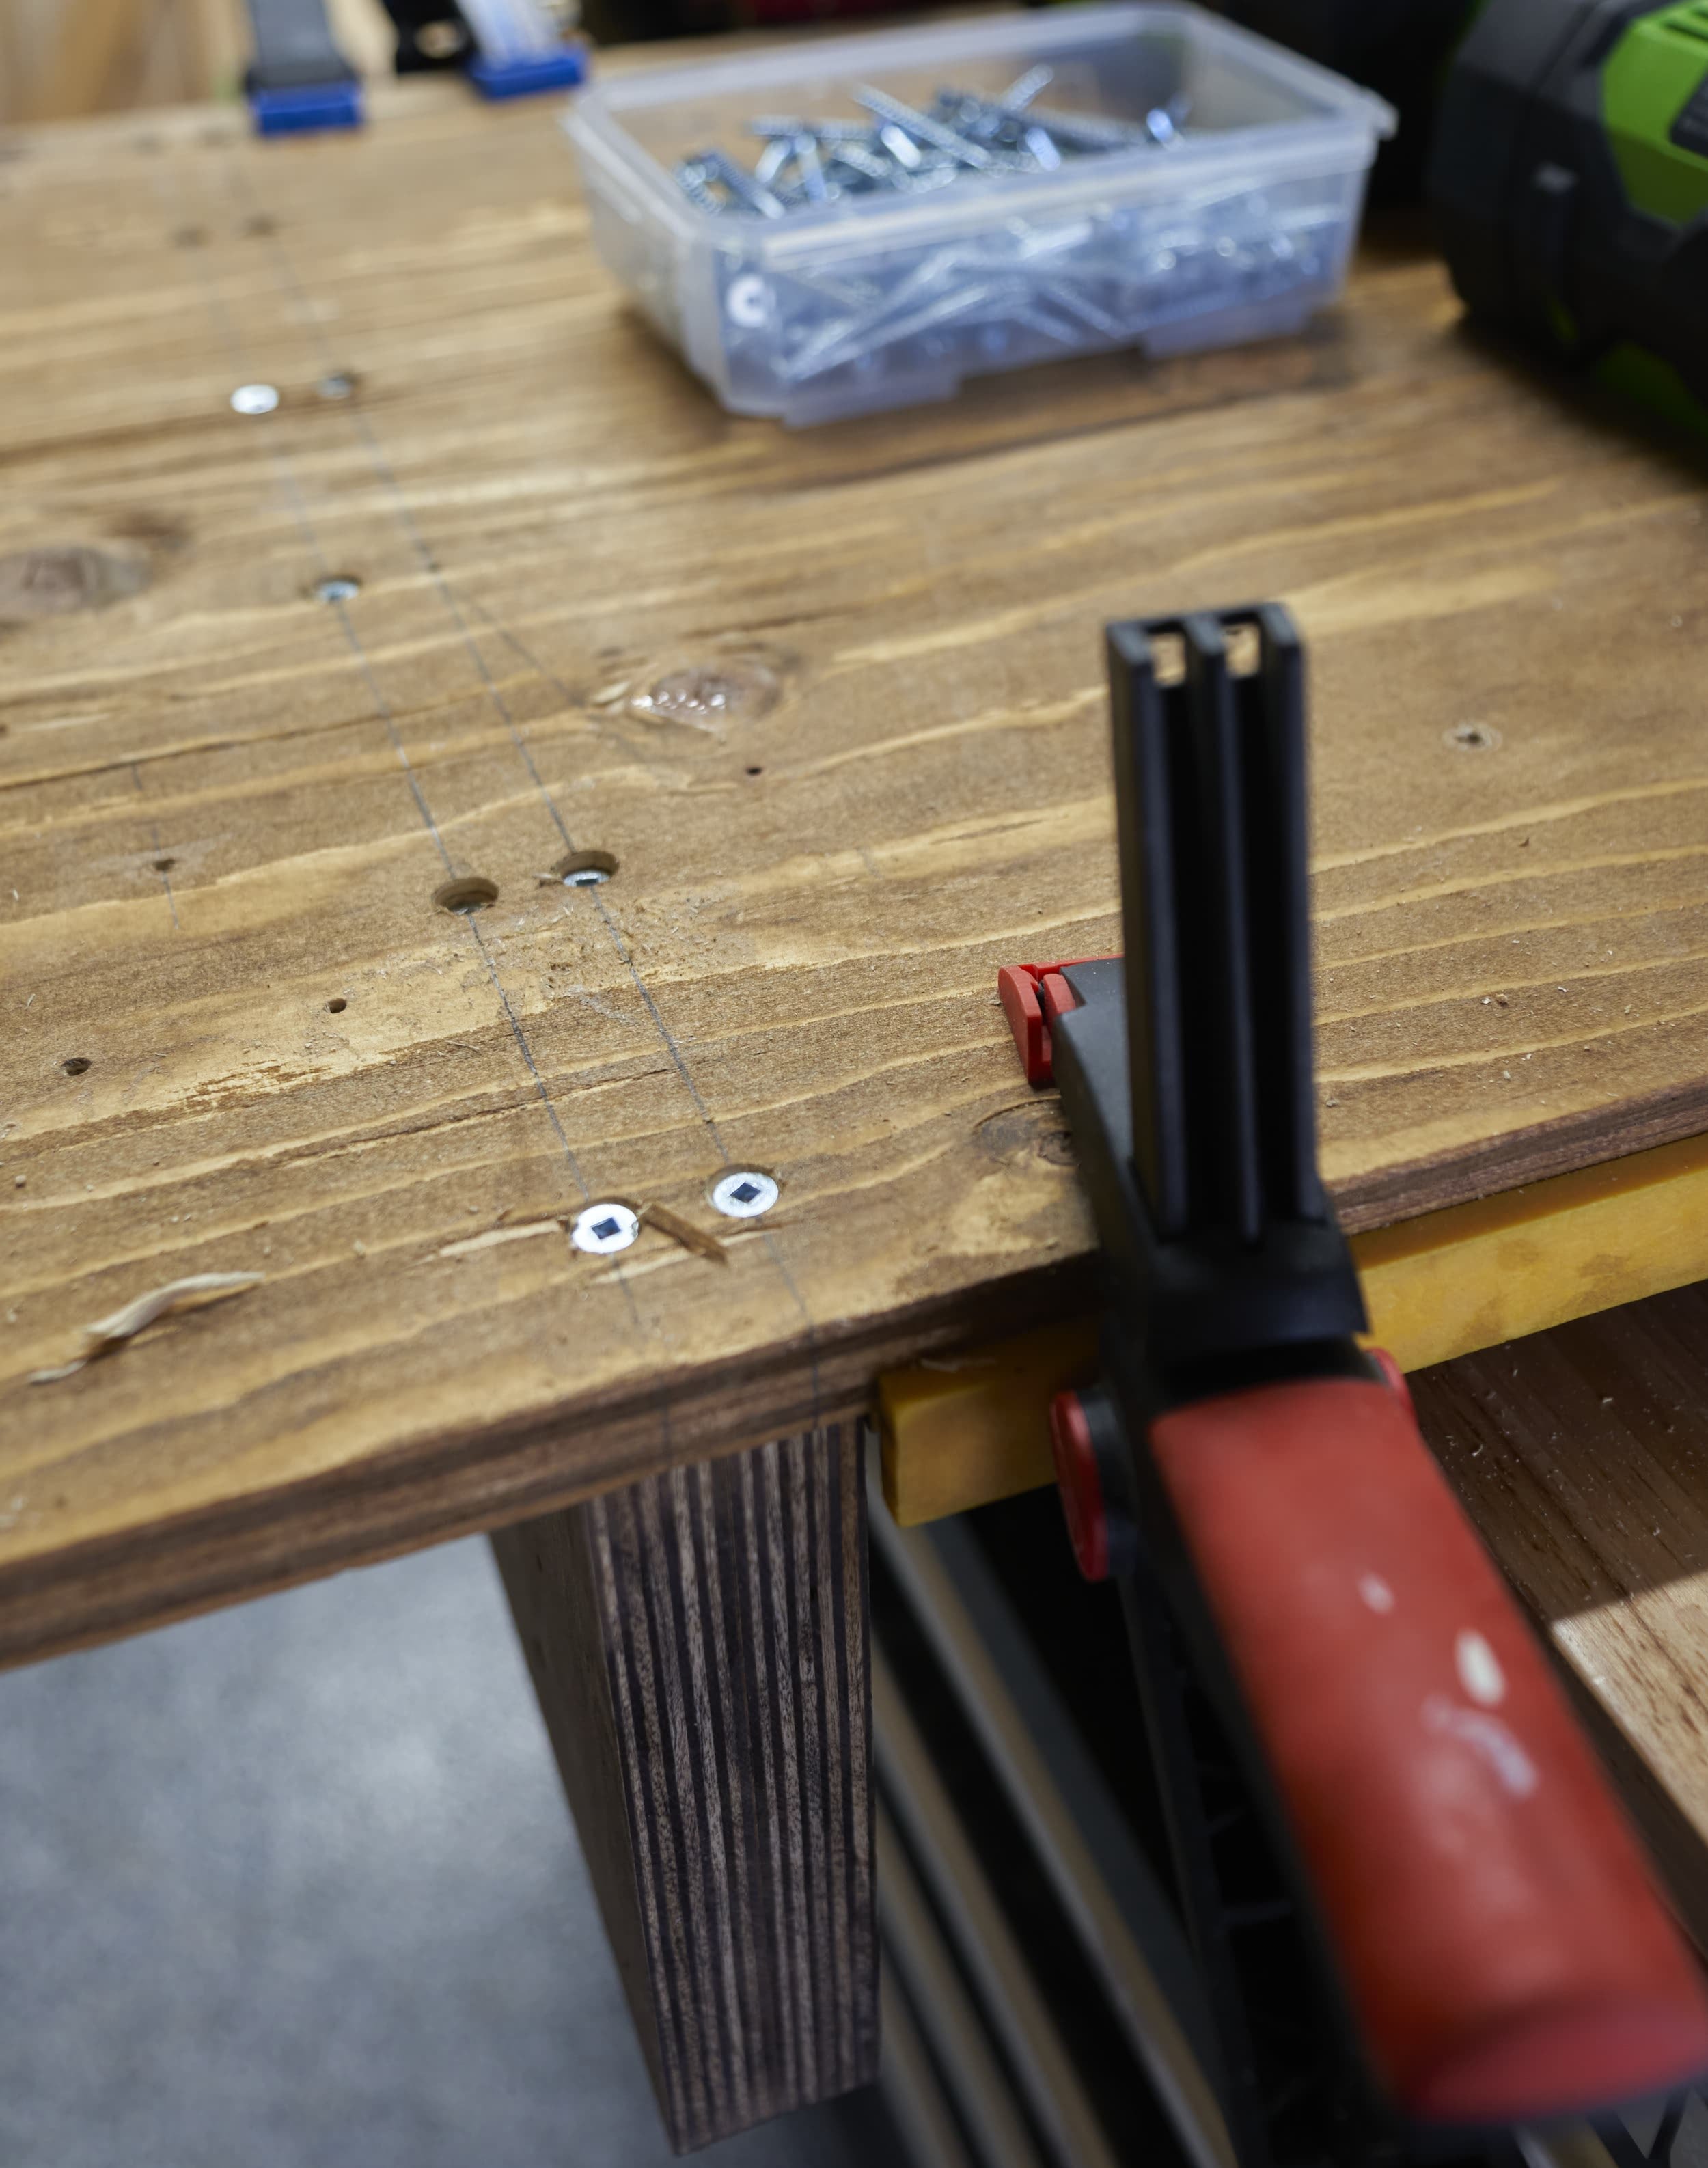
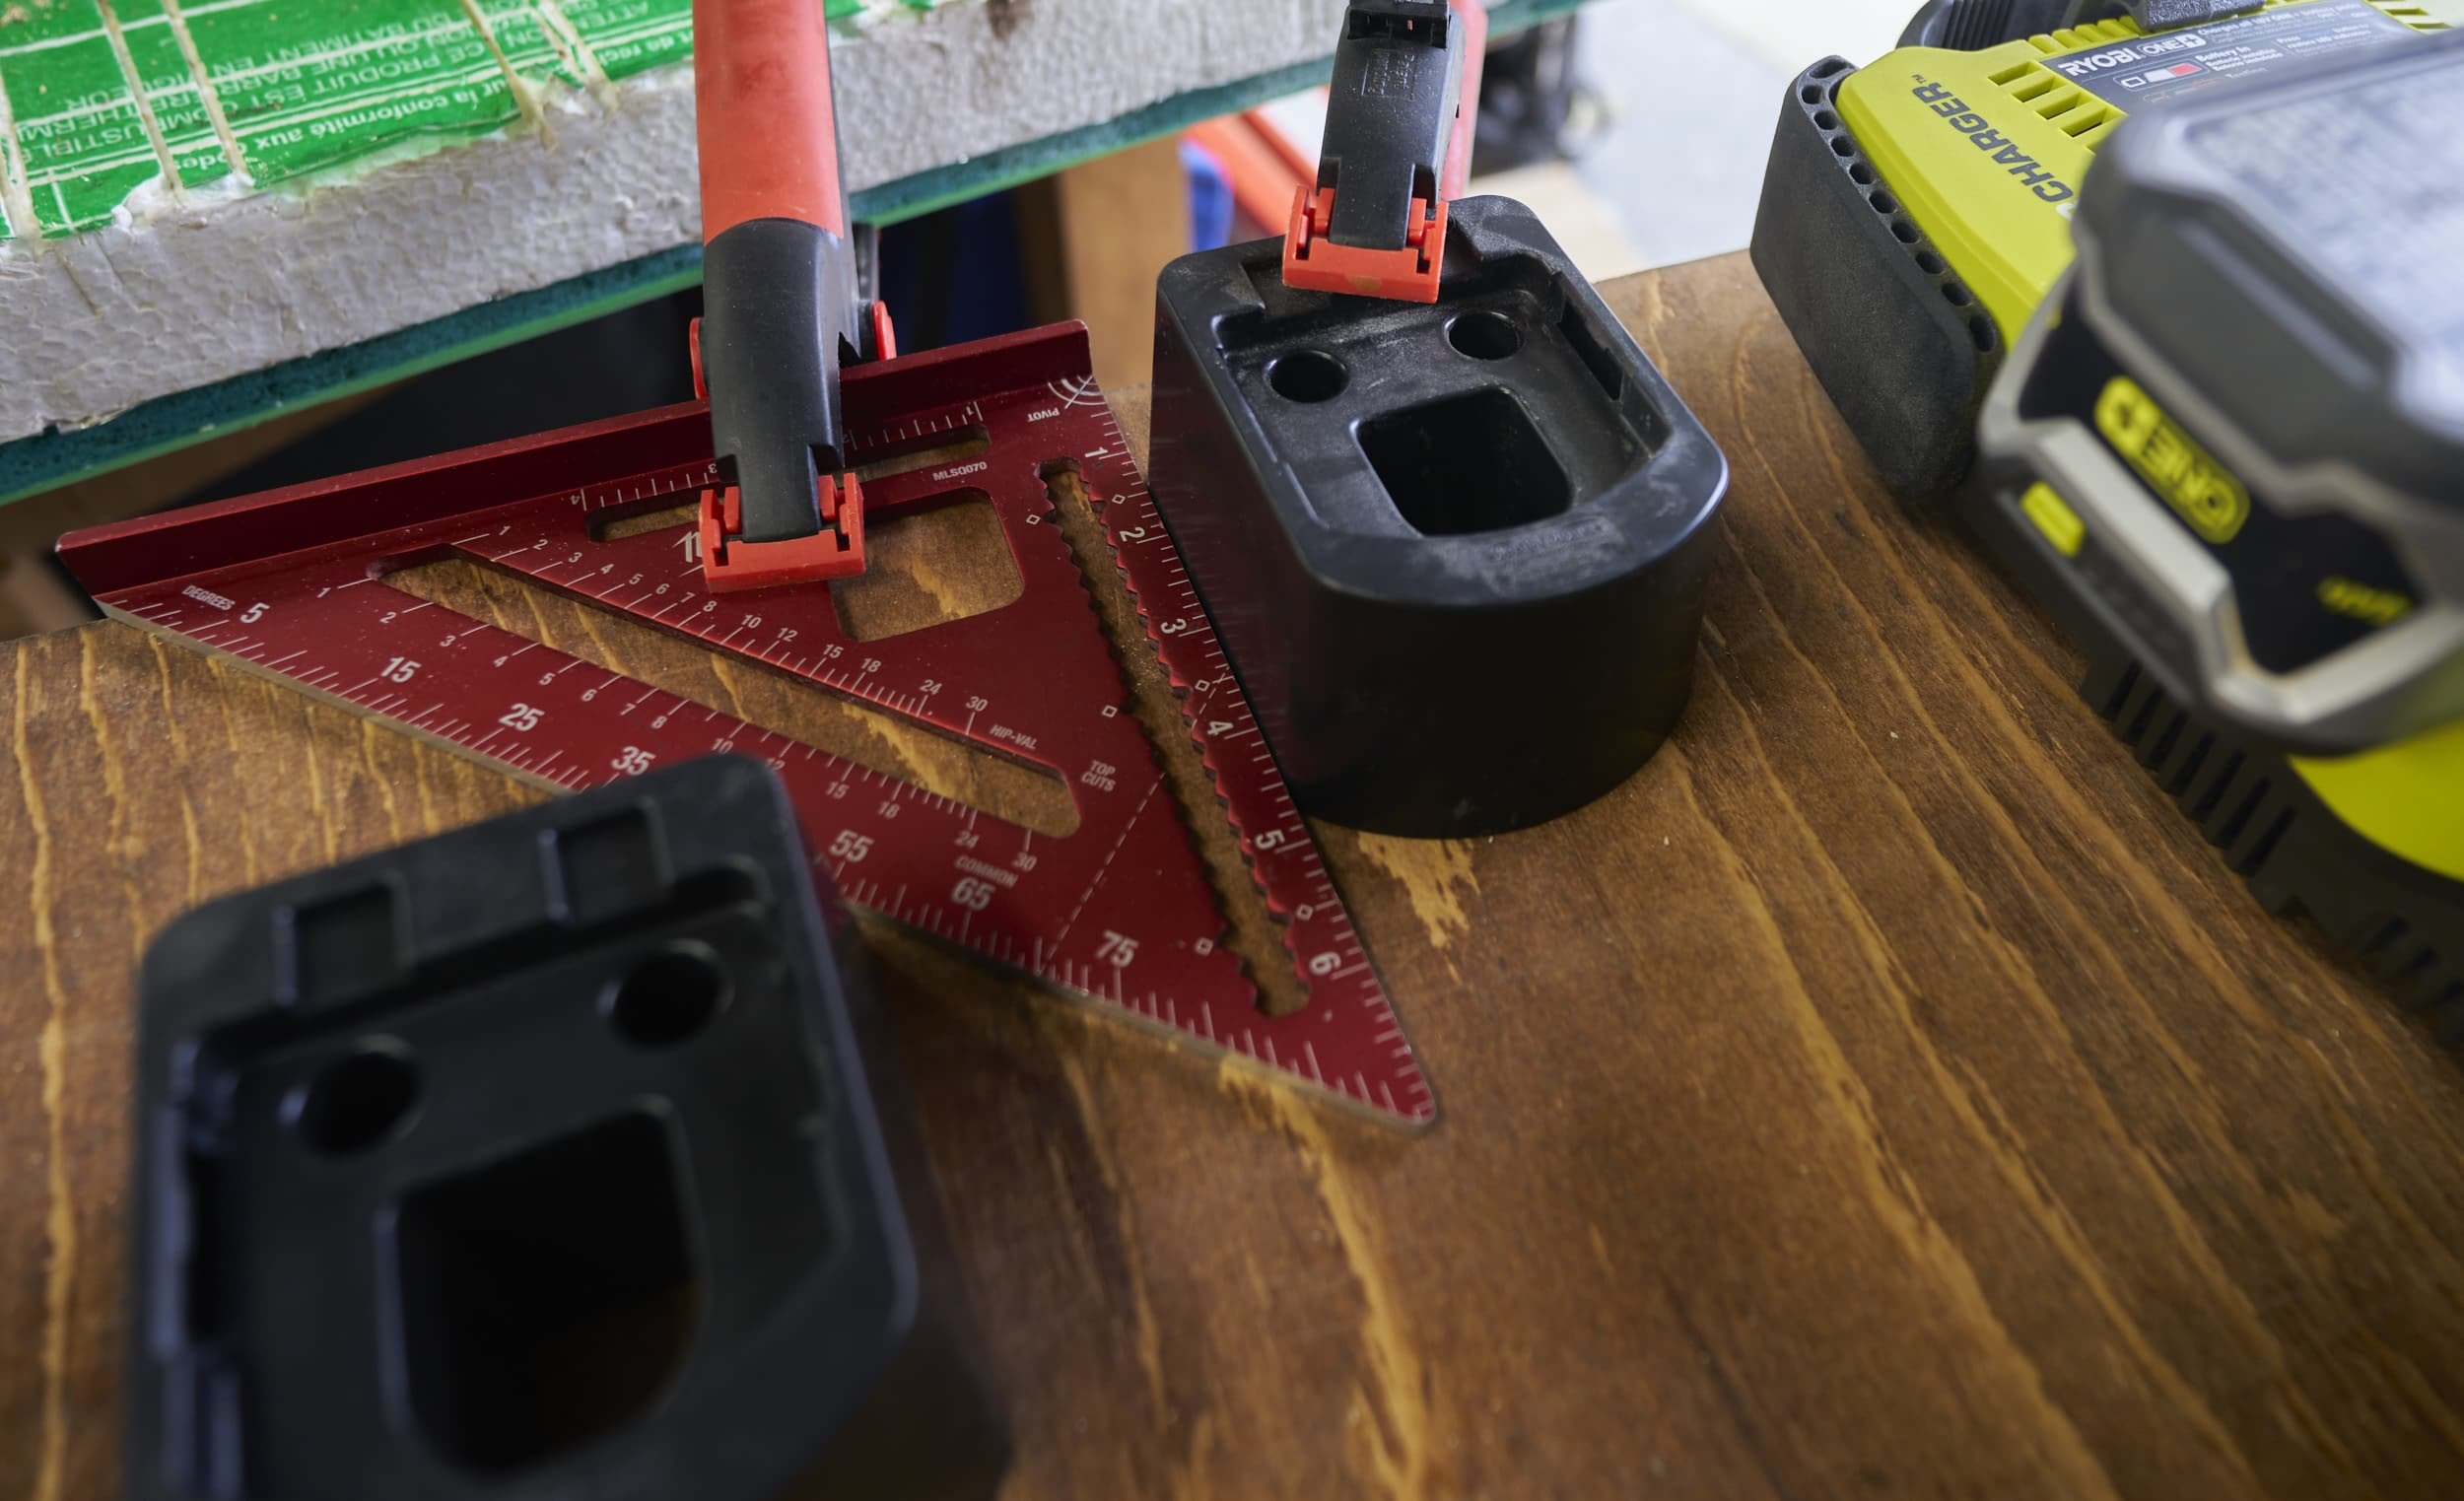
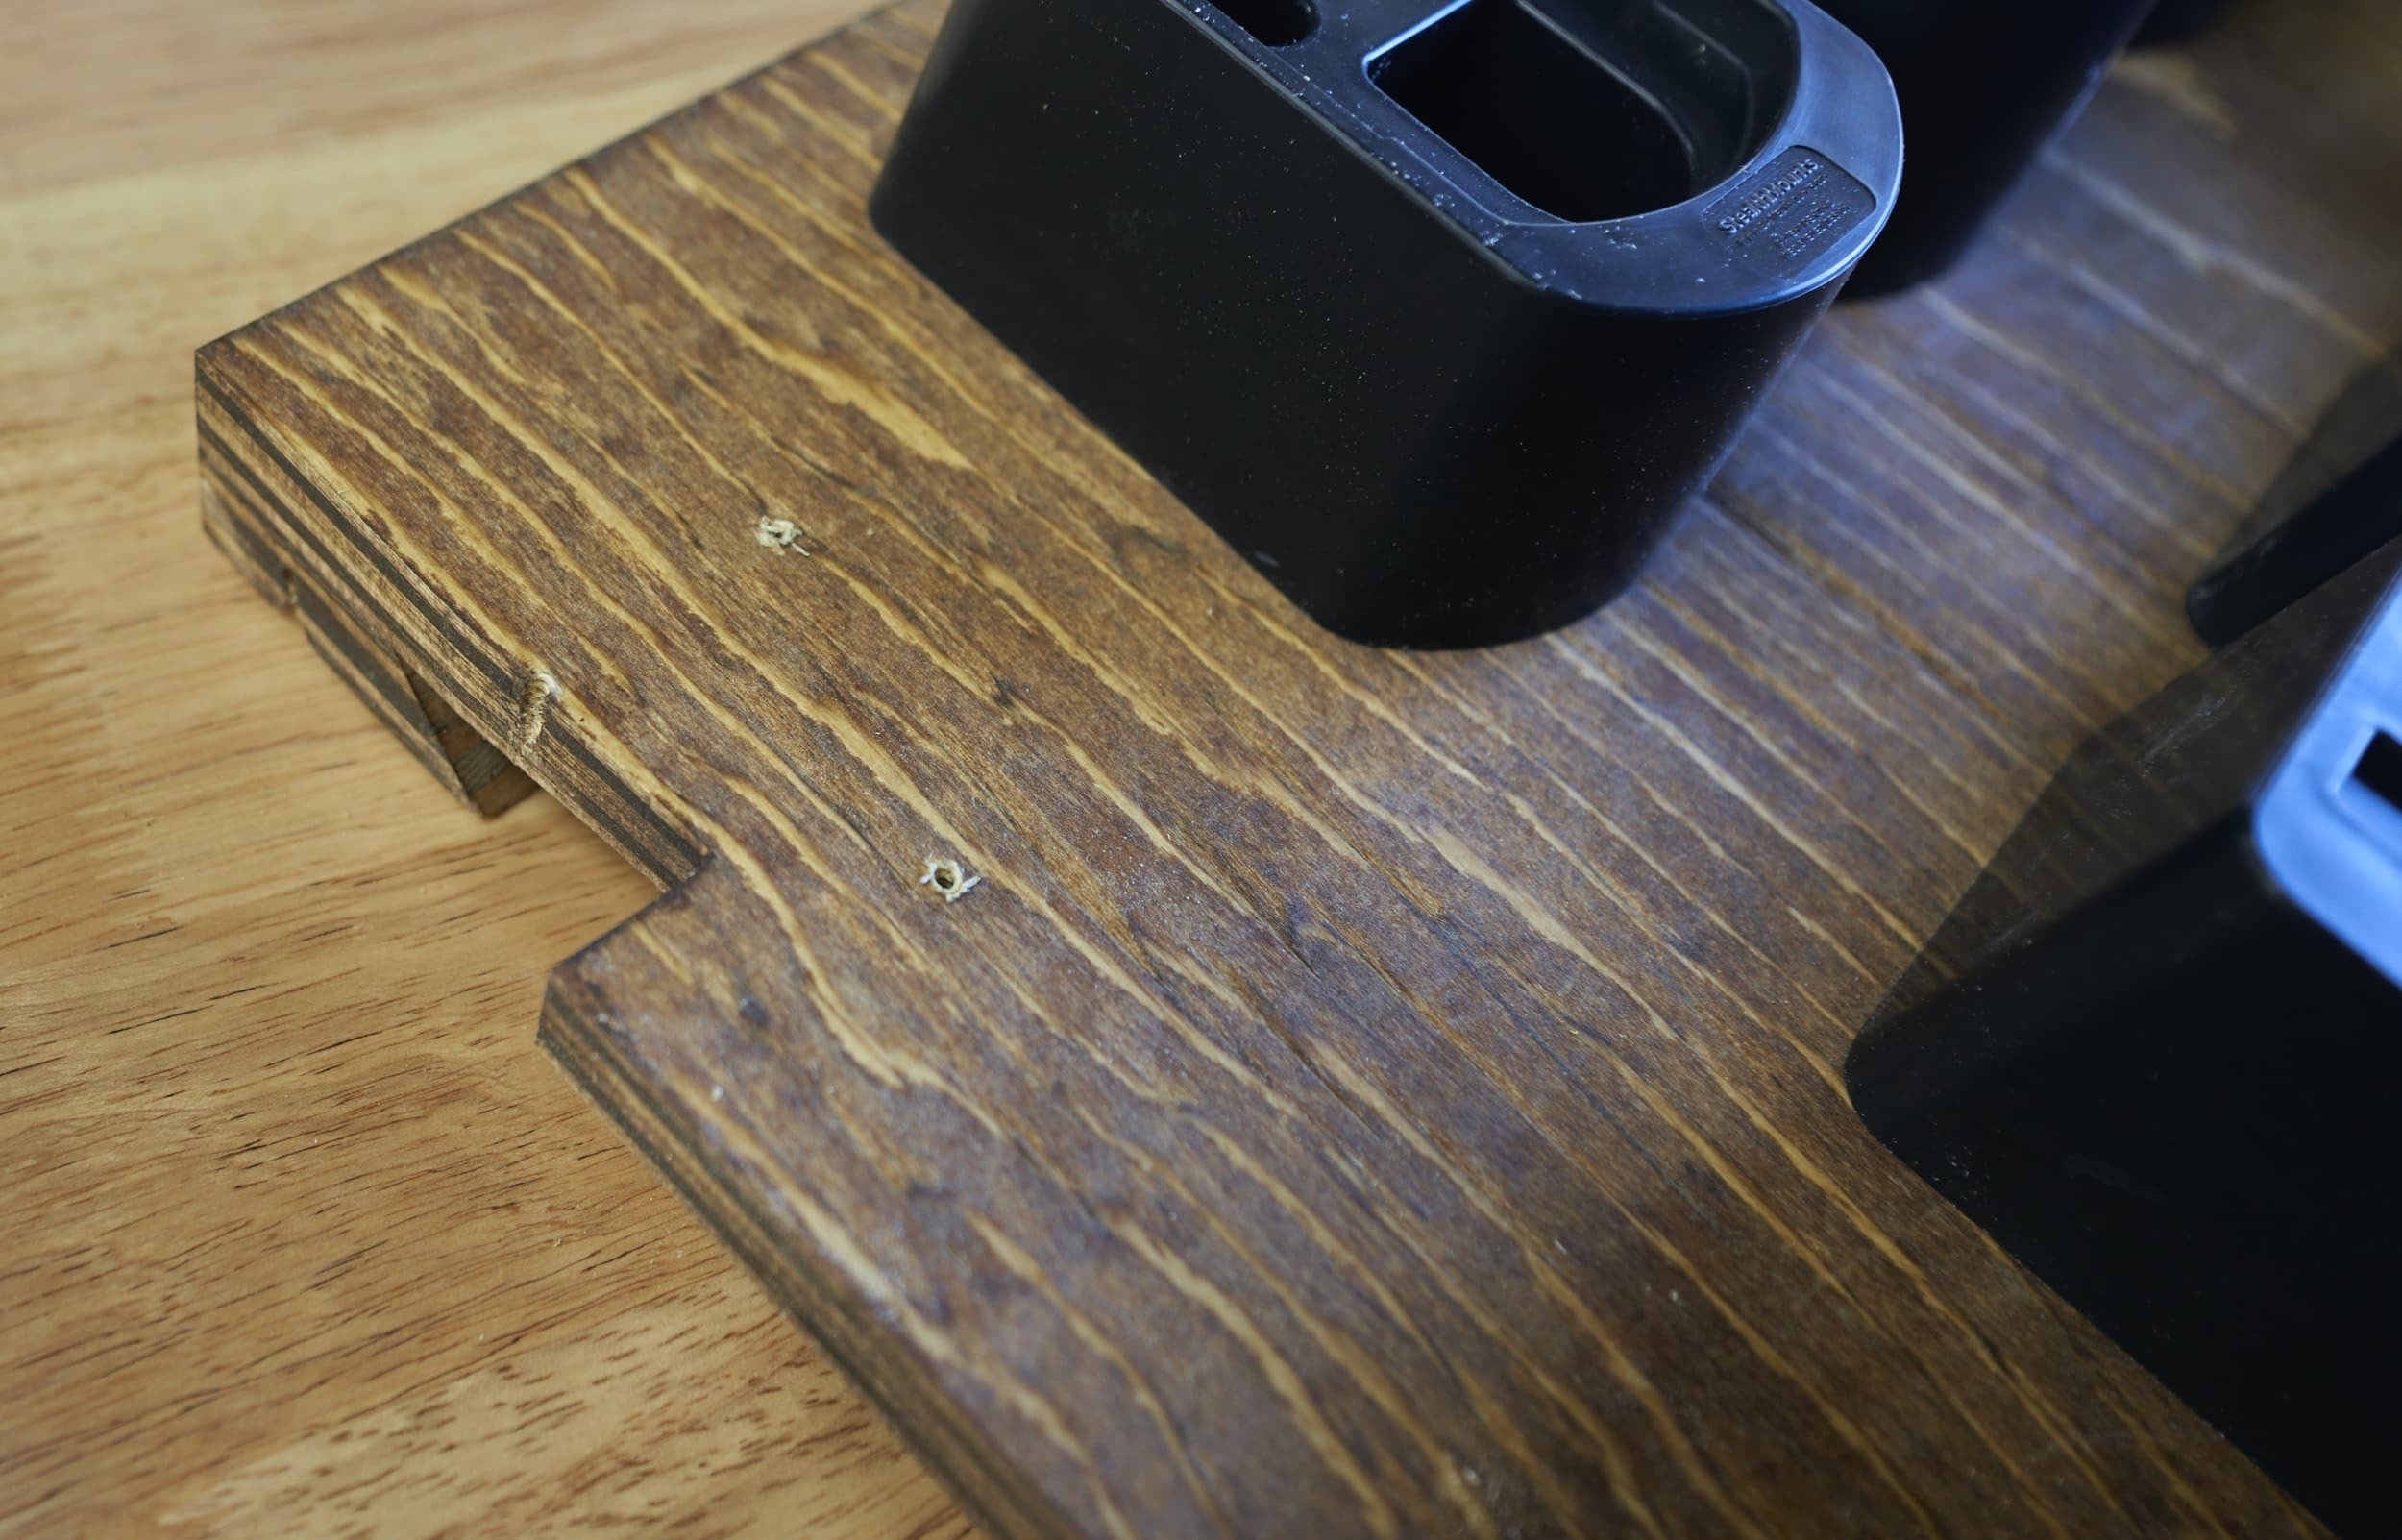
To keep the batteries somewhat under control, I used StealthMounts battery hanger clips - they have a huge variety of options for most of the major power tool brands out there. One thing to consider is both adding additional mounting points for future batteries but also to build in some extra space between the mounts to accommodate [physically] larger batteries. For some additional options, there are a lot of 3d-printed options available on marketplaces like Etsy as well.
Pretty sure there’s a whole bunch of batteries still not accounted for…
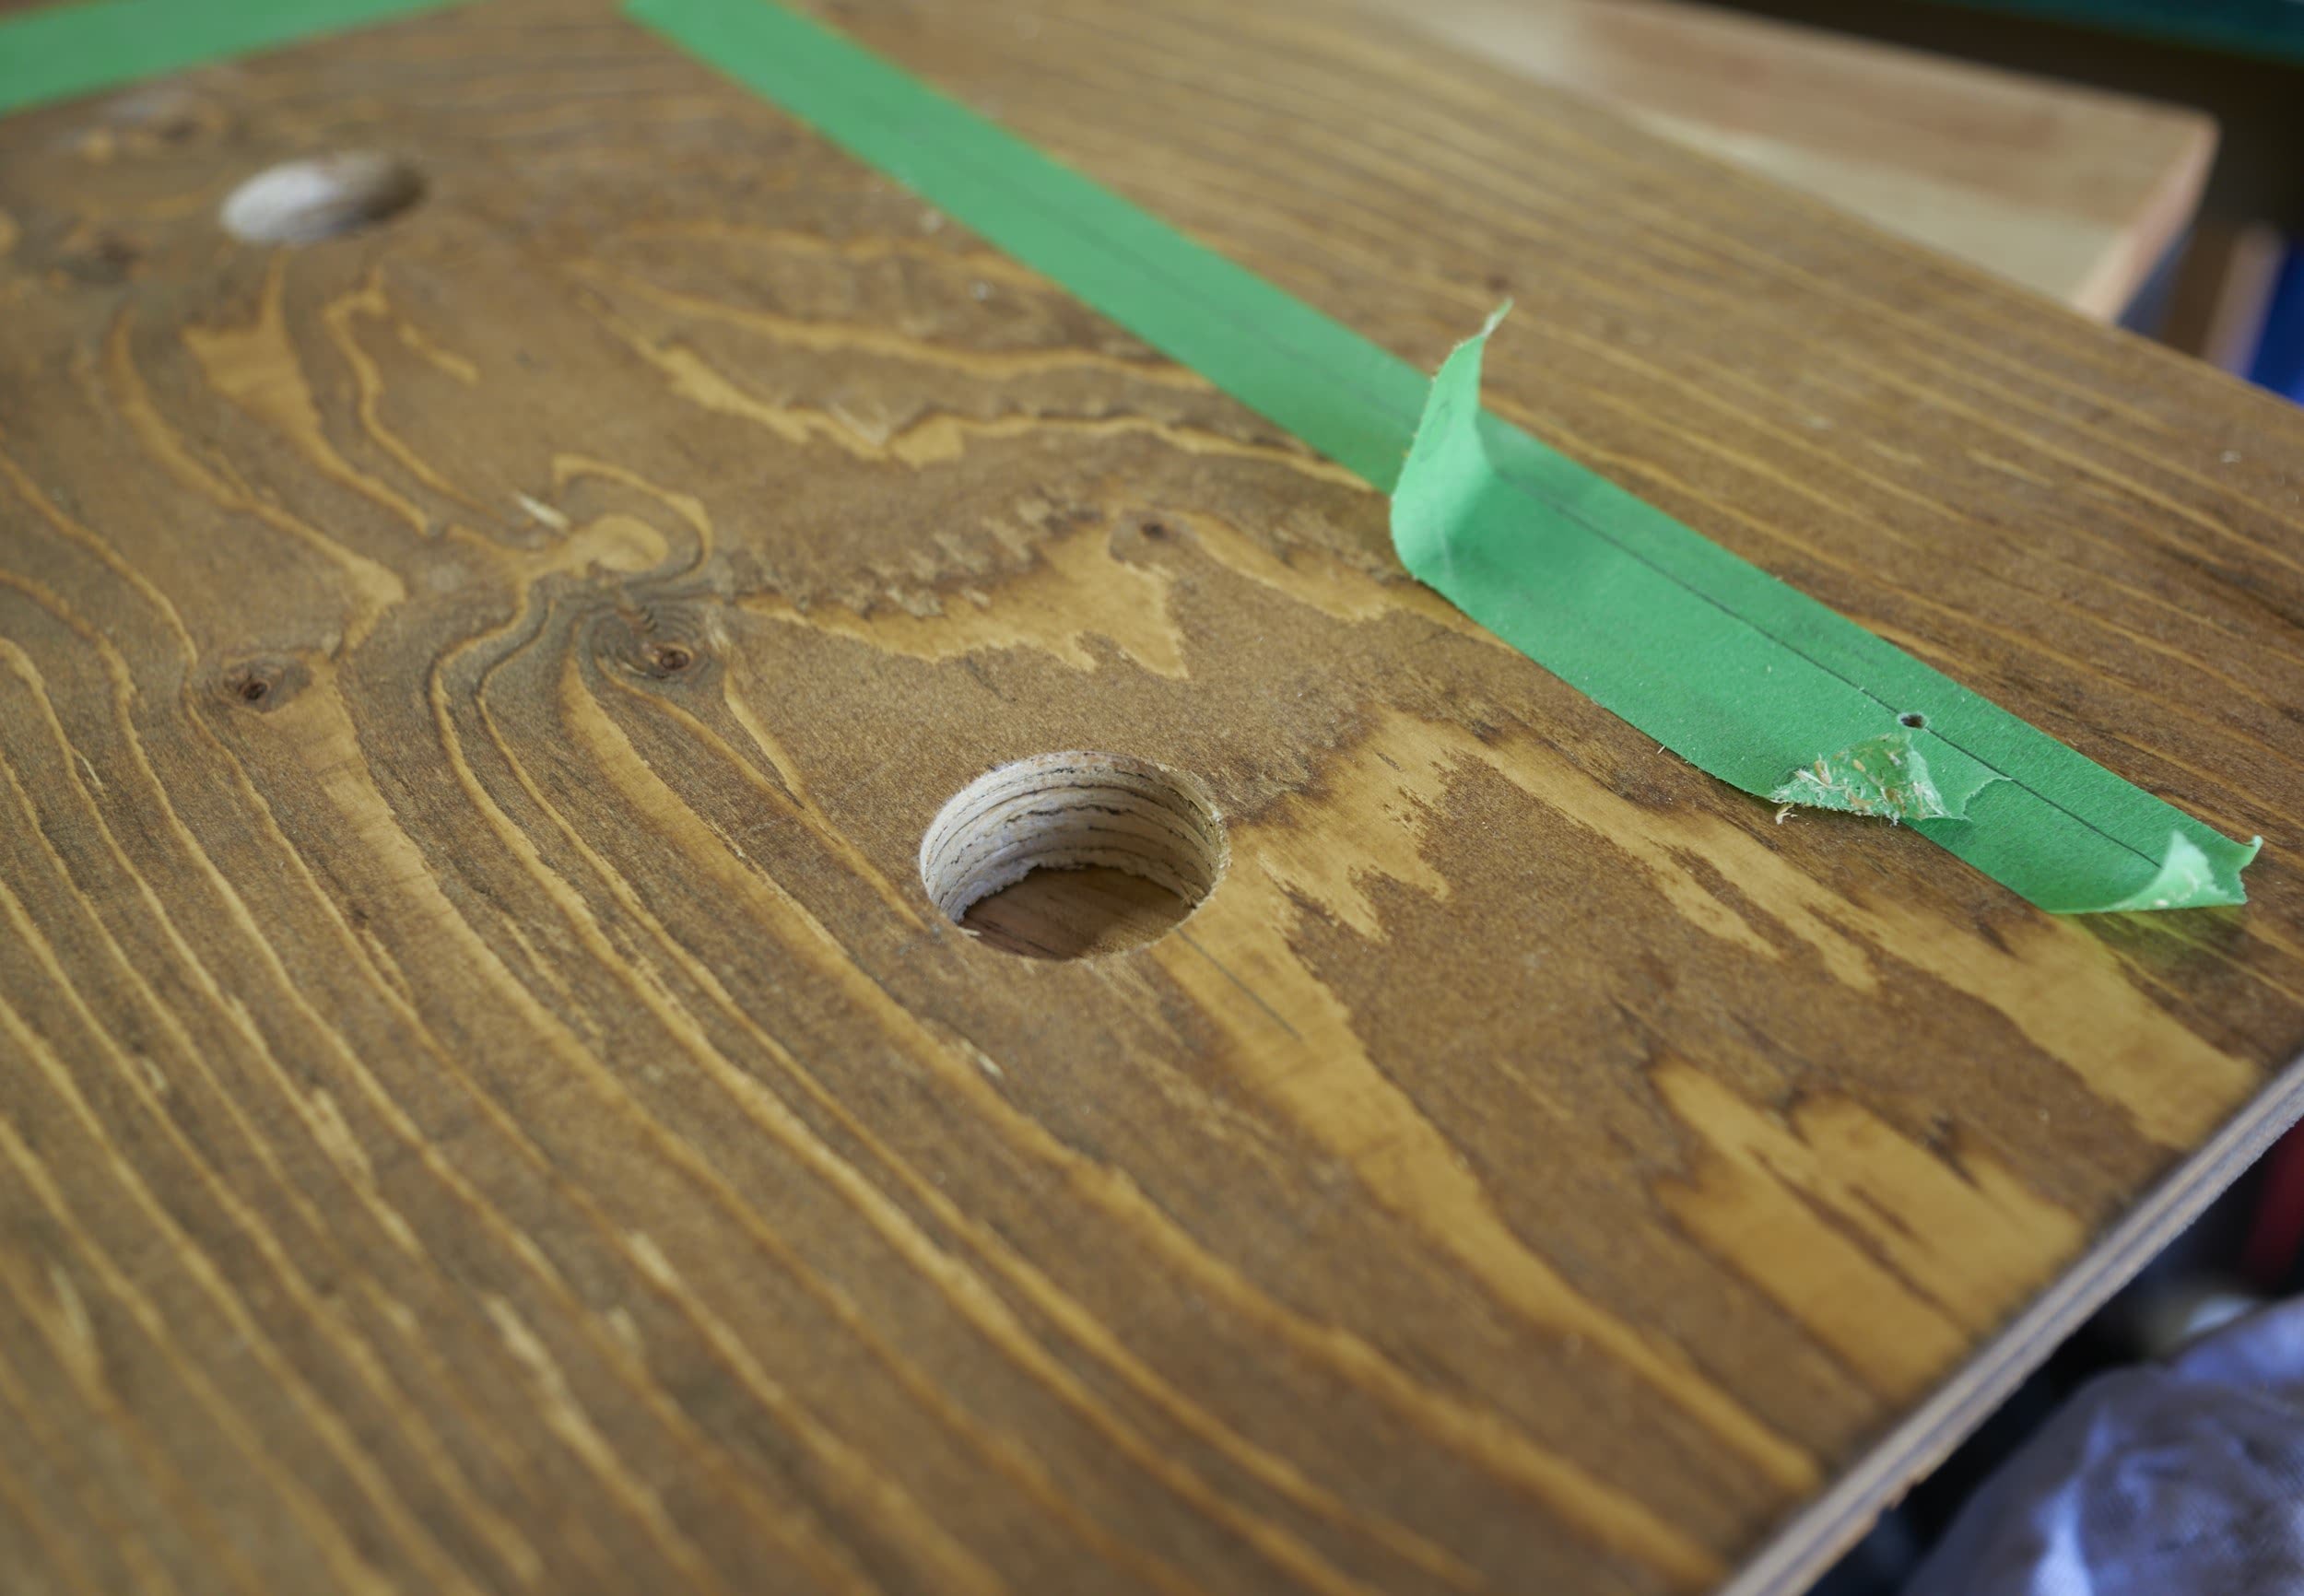
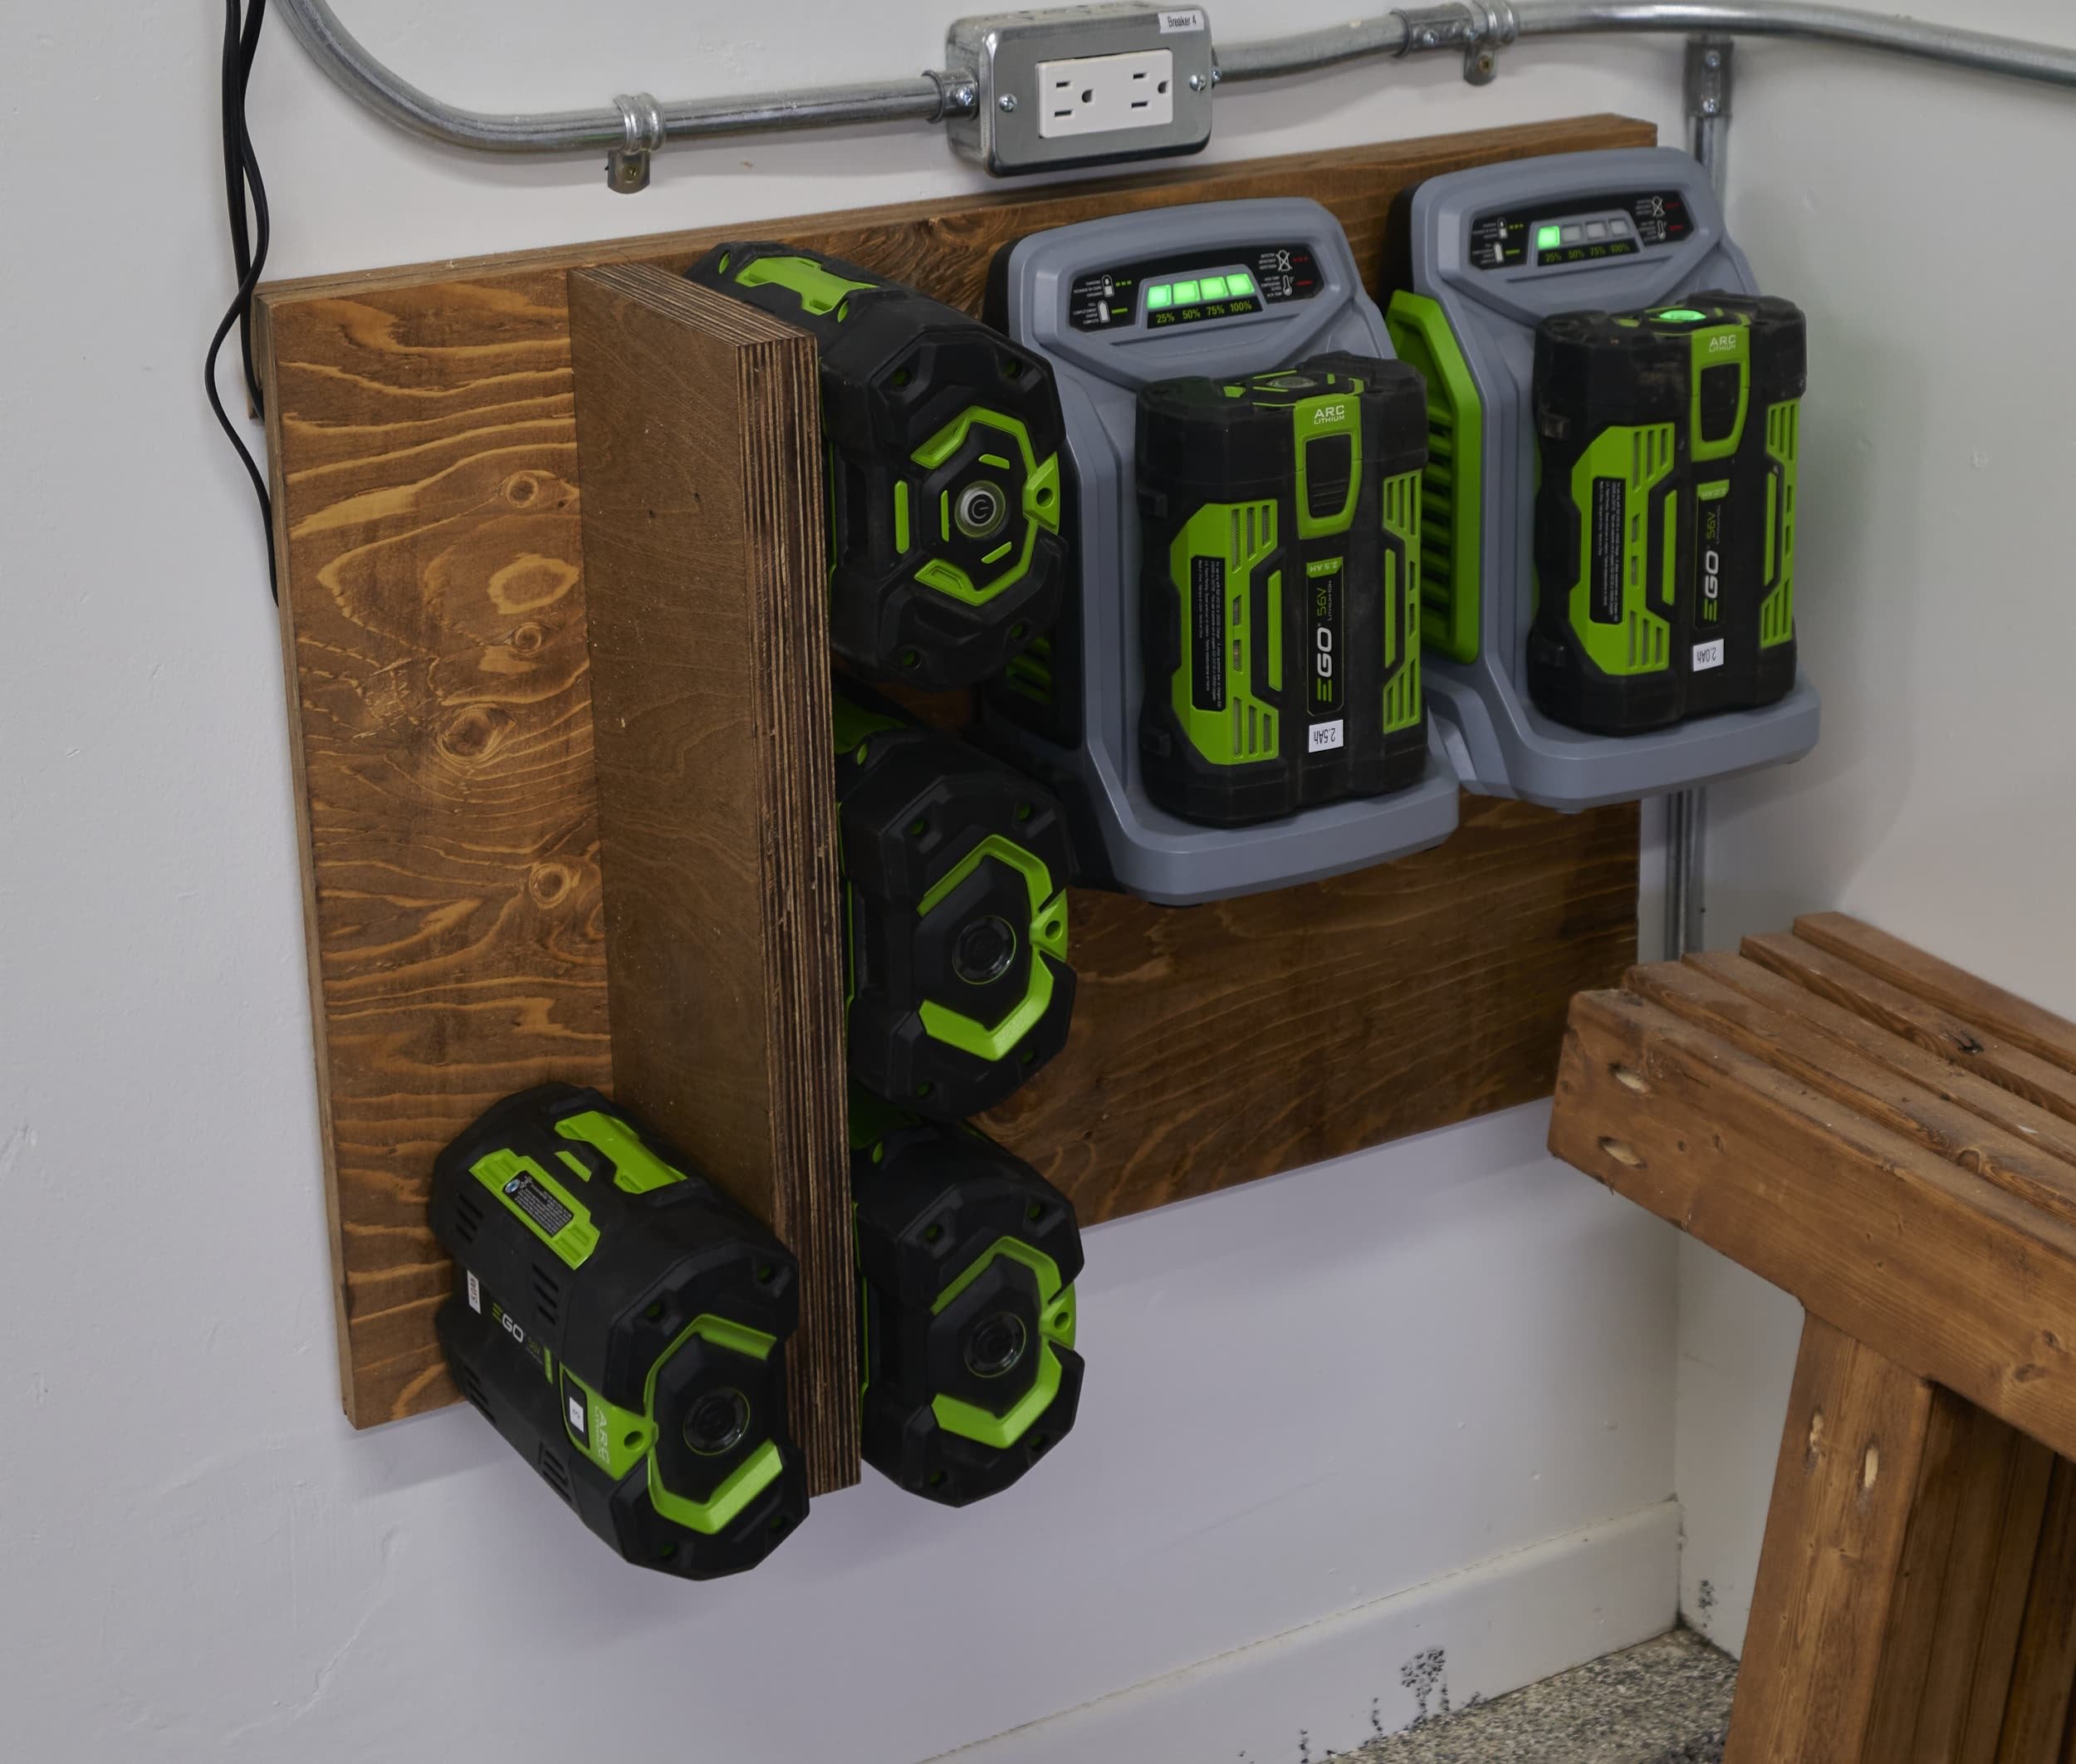
Step 1: EGO Charging Station
I wanted to work bottom to top (and heaviest to lightest!) so I started with my EGO batteries. I built this around my 5Ah batteries that I had but there is a bit of breathing room to potentially accommodate the larger 7.5Ah (or bigger) batteries down the road (at least on the ‘outside’ edge hangers).
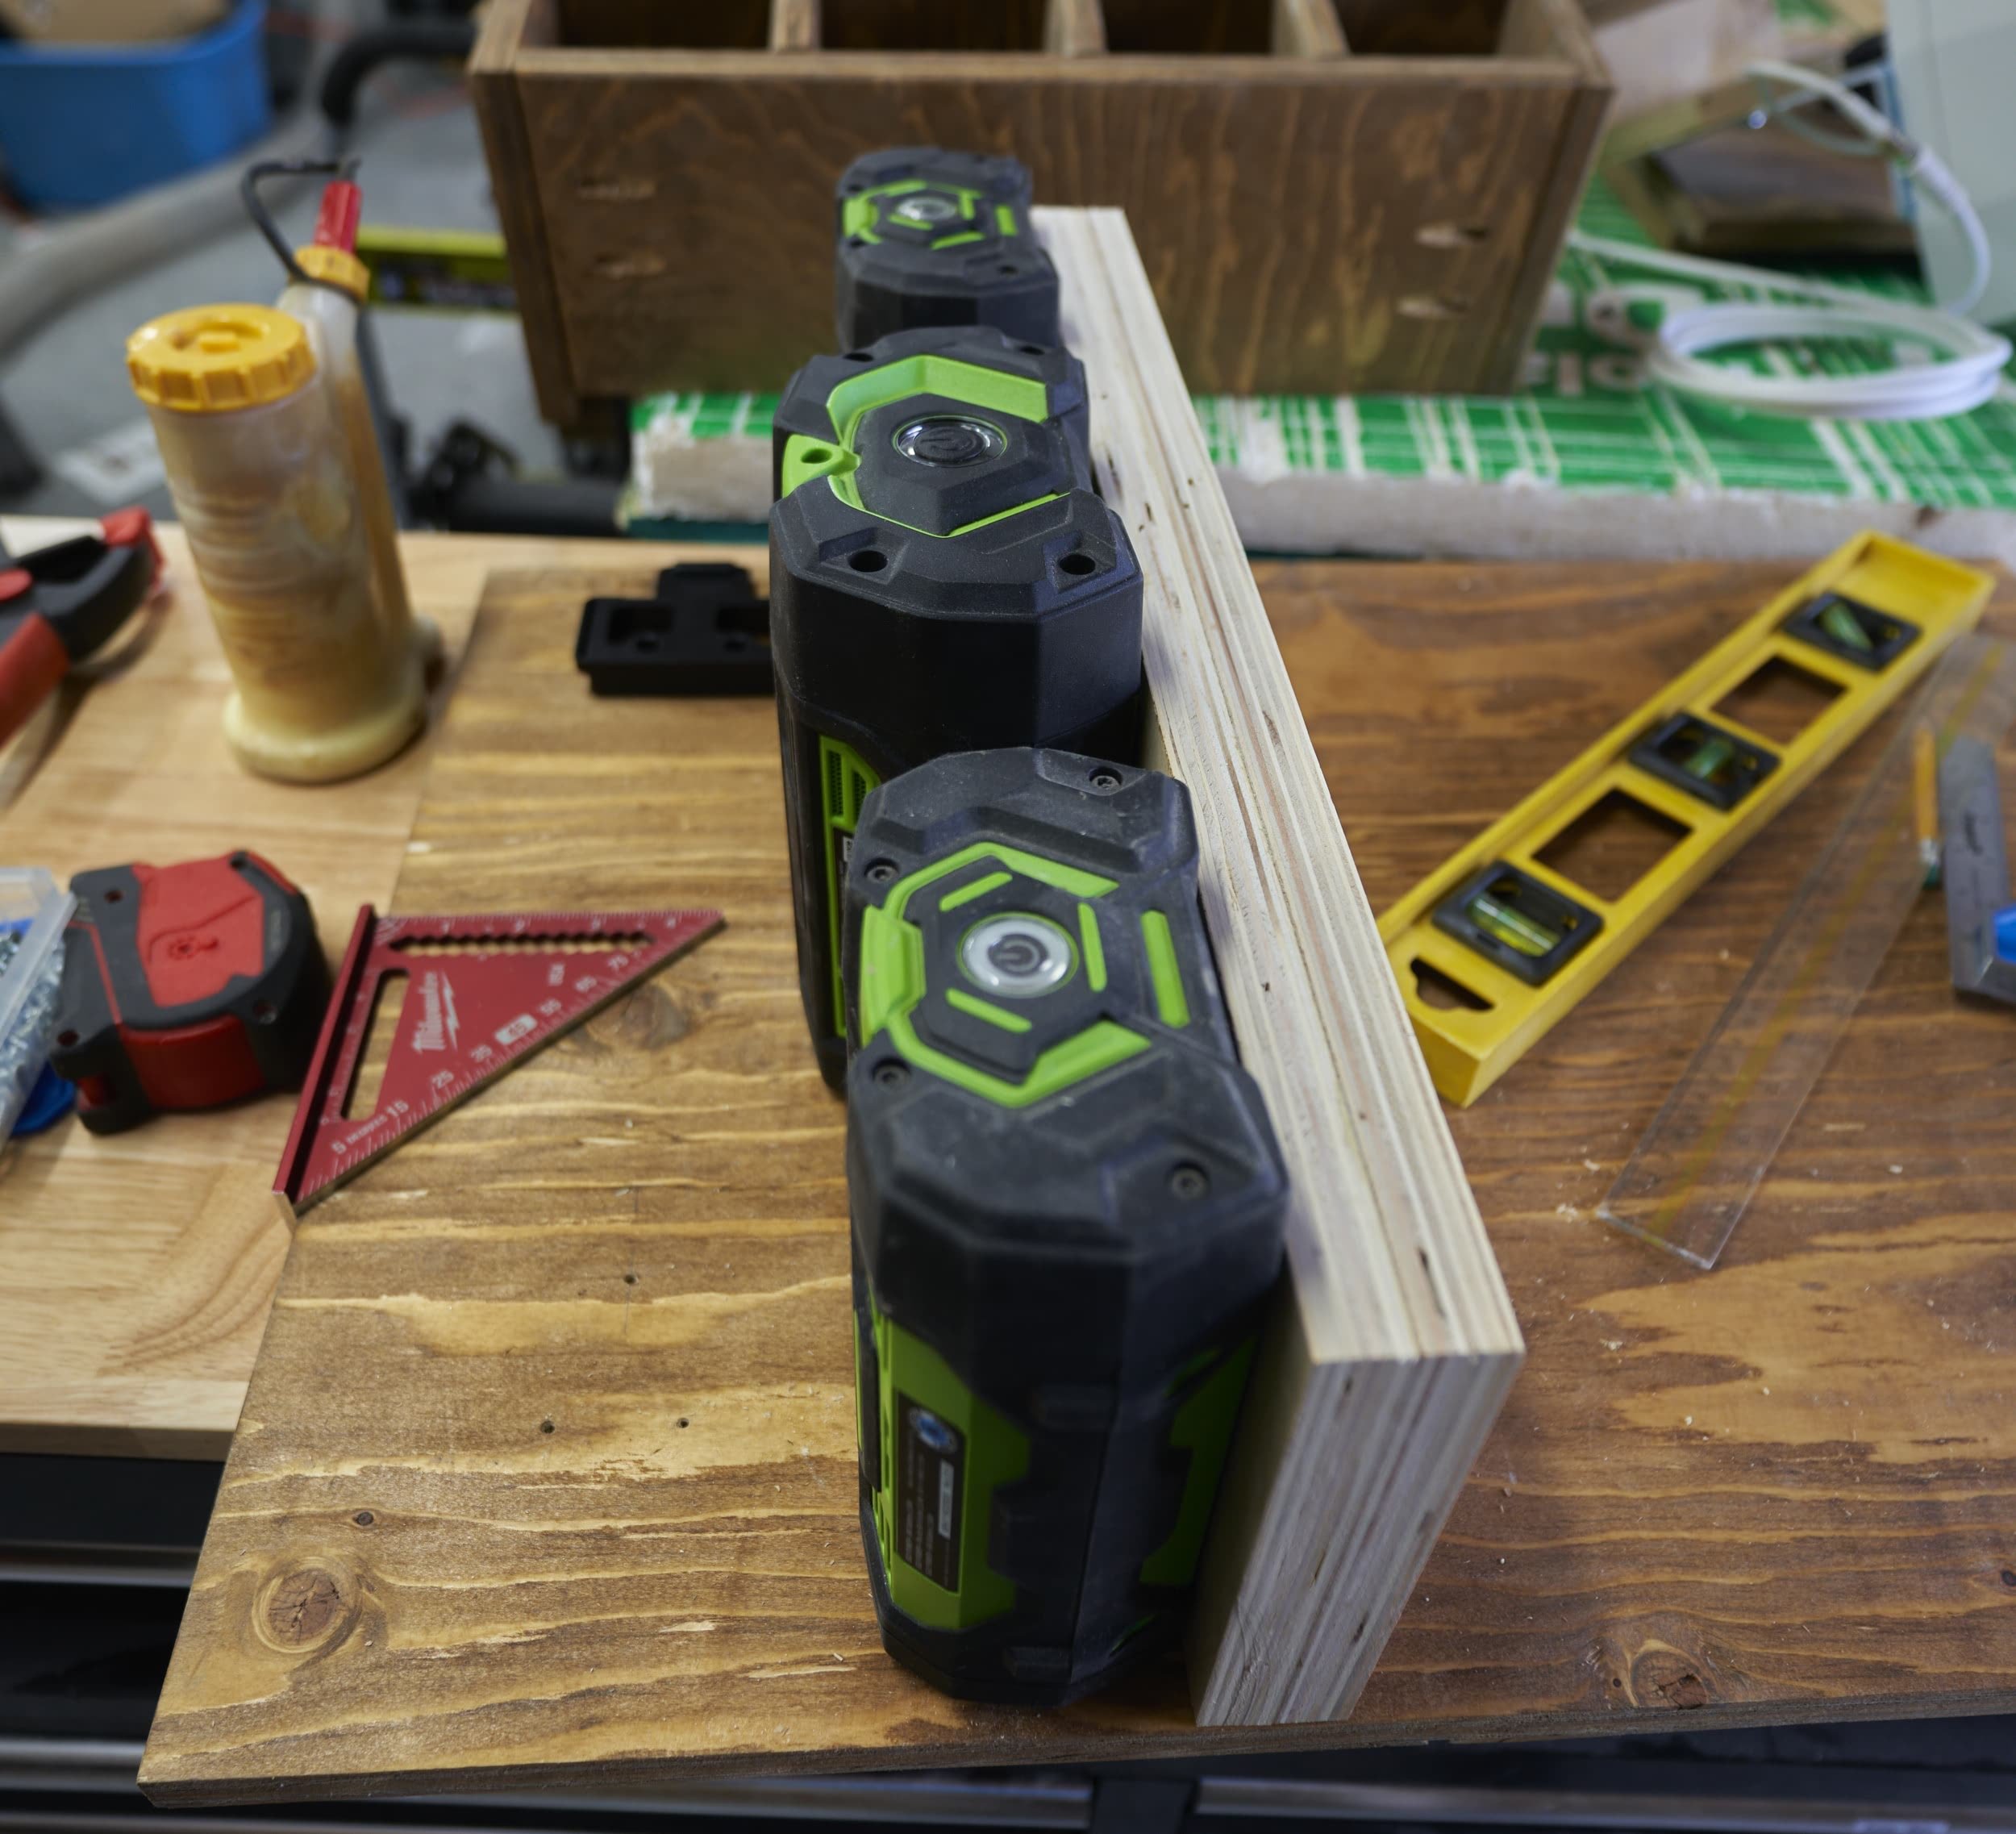
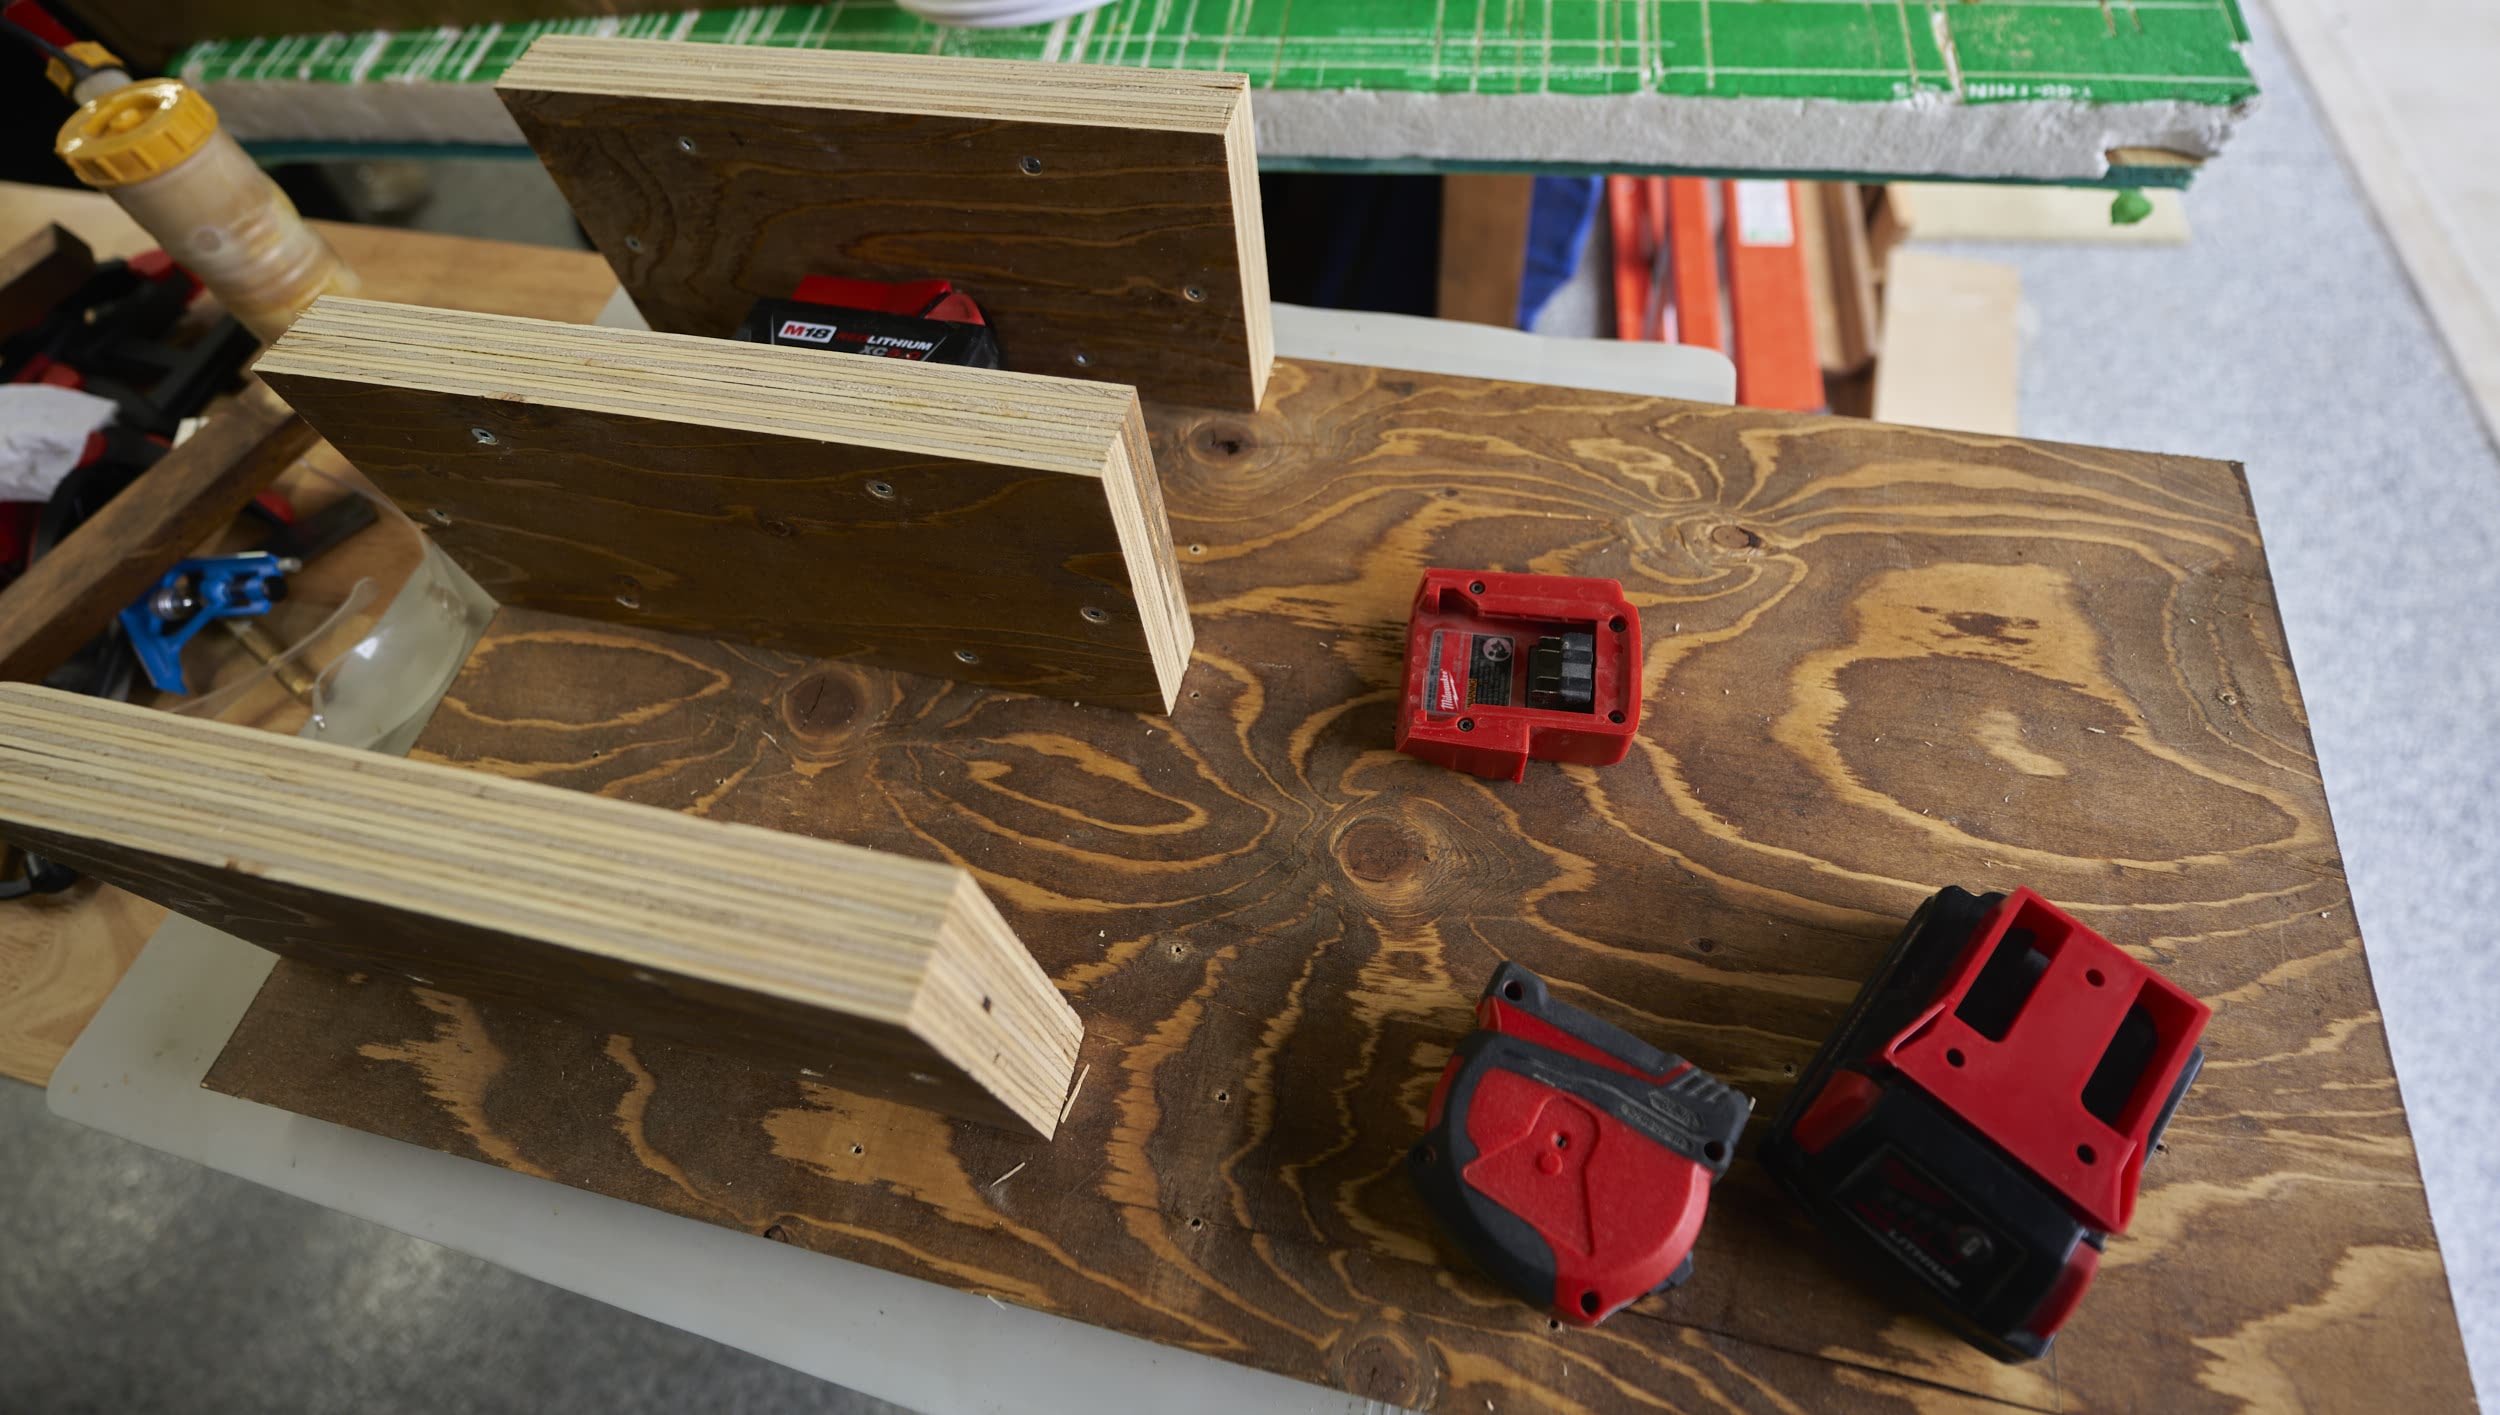
Step 2: Milwaukee Charging Station
Building the Milwaukee charge station to accommodate a potential future 12Ah battery was a bit more frustrating in terms of trying to find out meaningful dimensions of the battery. In the end I went with 4-1/2” vertical spacing and 5” front-to-back which should hopefully give me enough room for it to breathe (the battery sticks out past the front end of the clip, so the 5” depth only need to accommodate the battery up to the clip).
Instead of the StealthMounts M12 battery clips, I used a drop-in hanger for my M12 batteries.


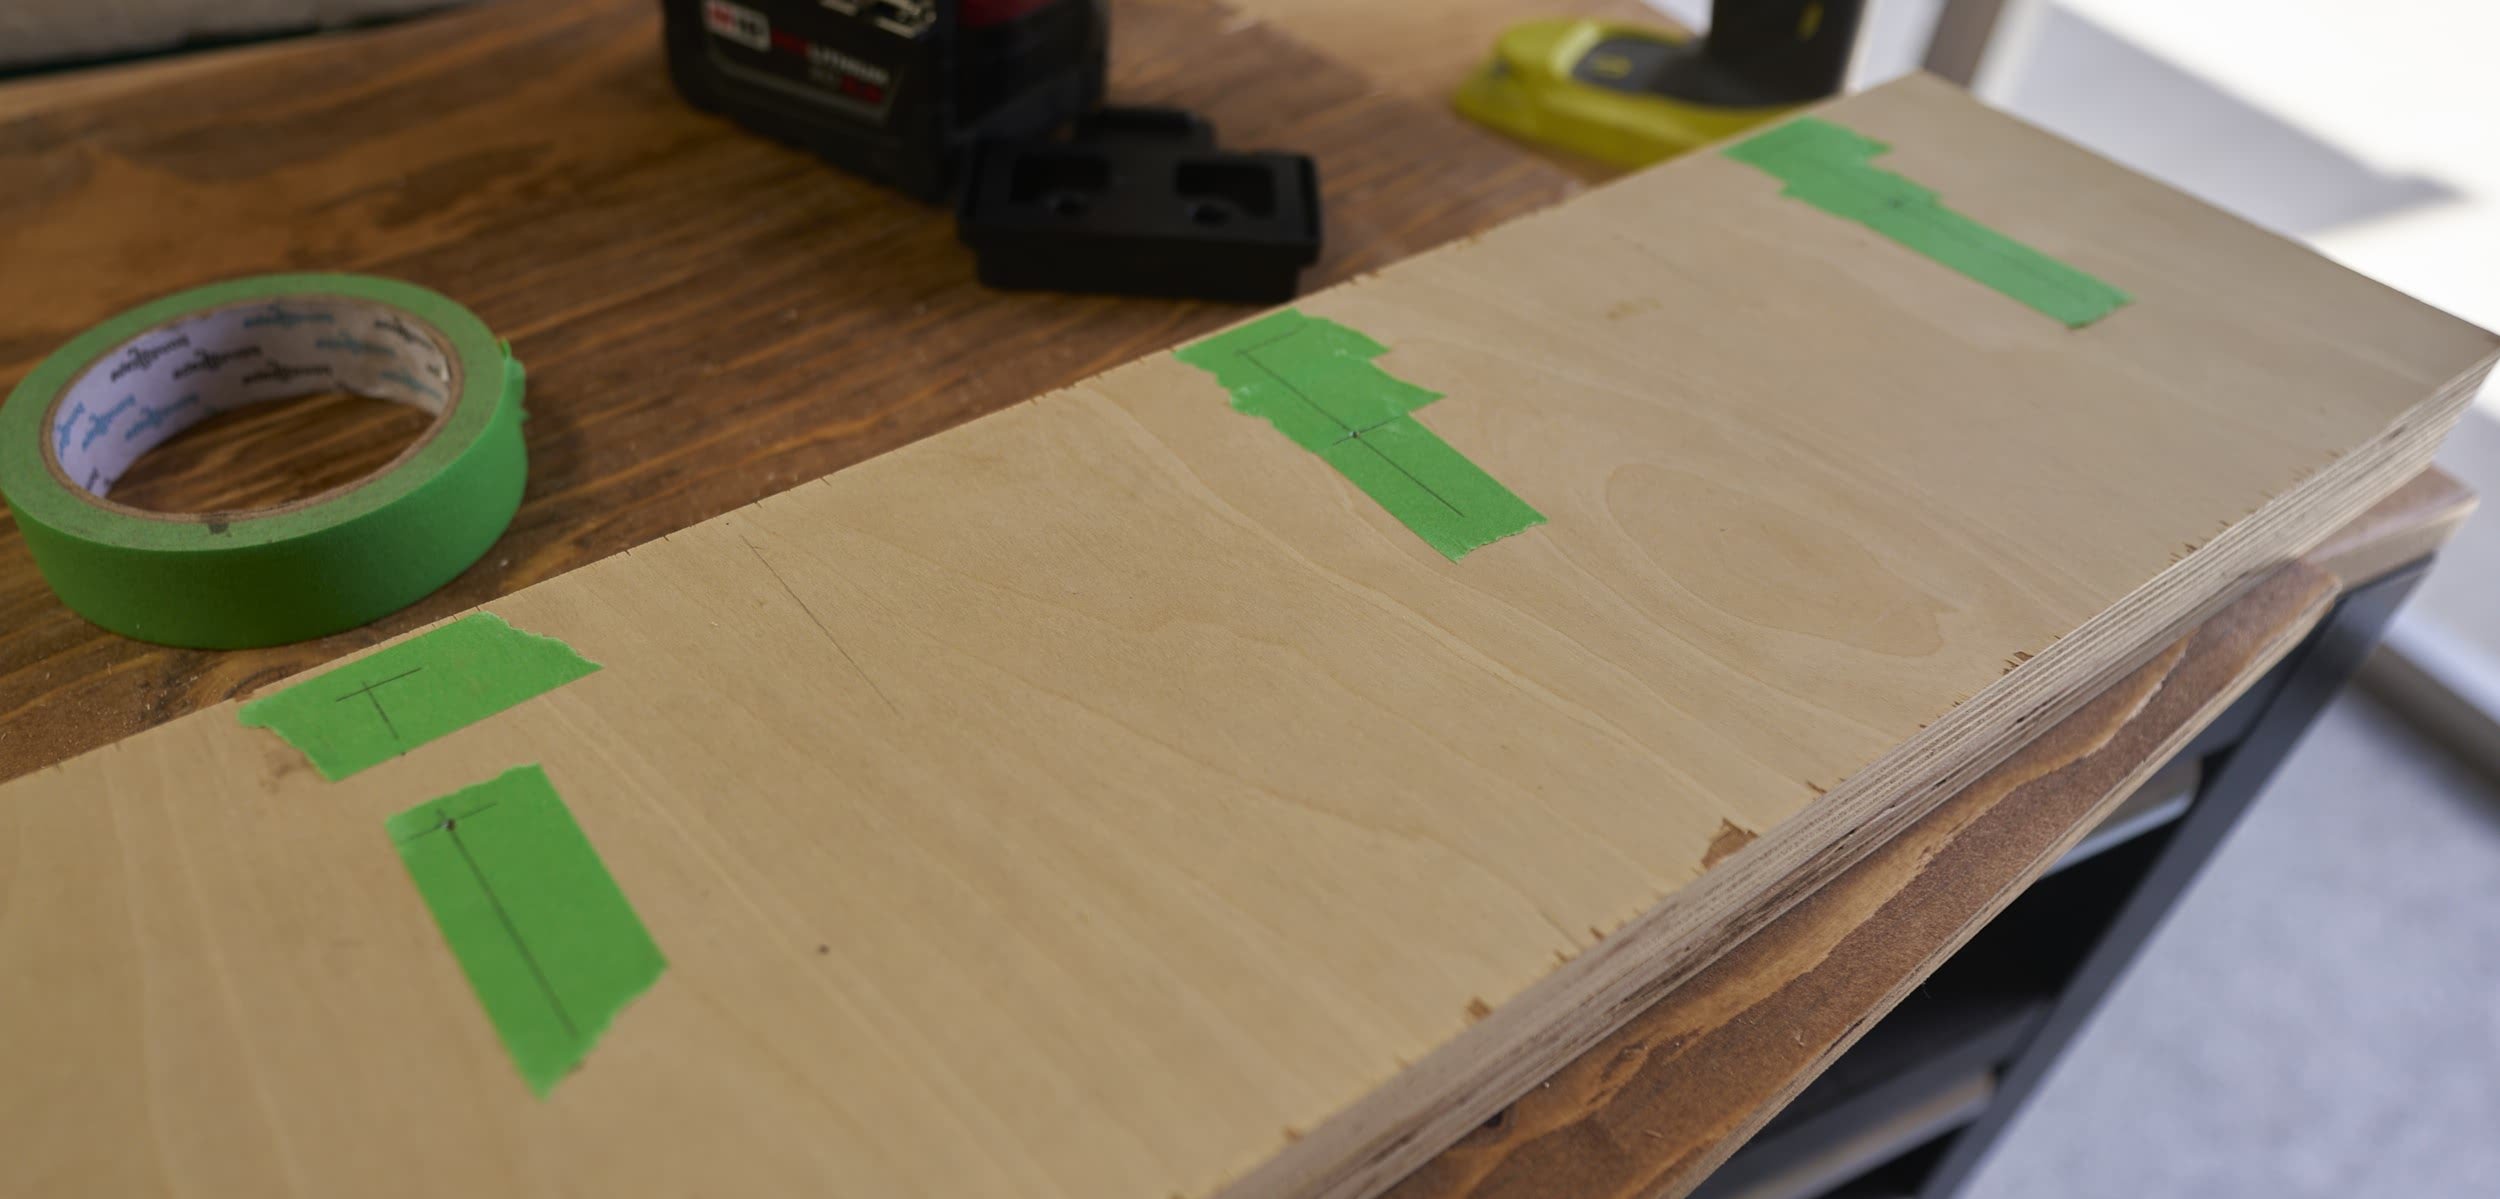
Step 3: Ryobi Charging Station
And here I thought this would be the easiest one to put together: the super charger came with a mounting bracket that was super easy to line up and attach and then it was just a matter of “attaching the battery holders” right? #foreshadowing


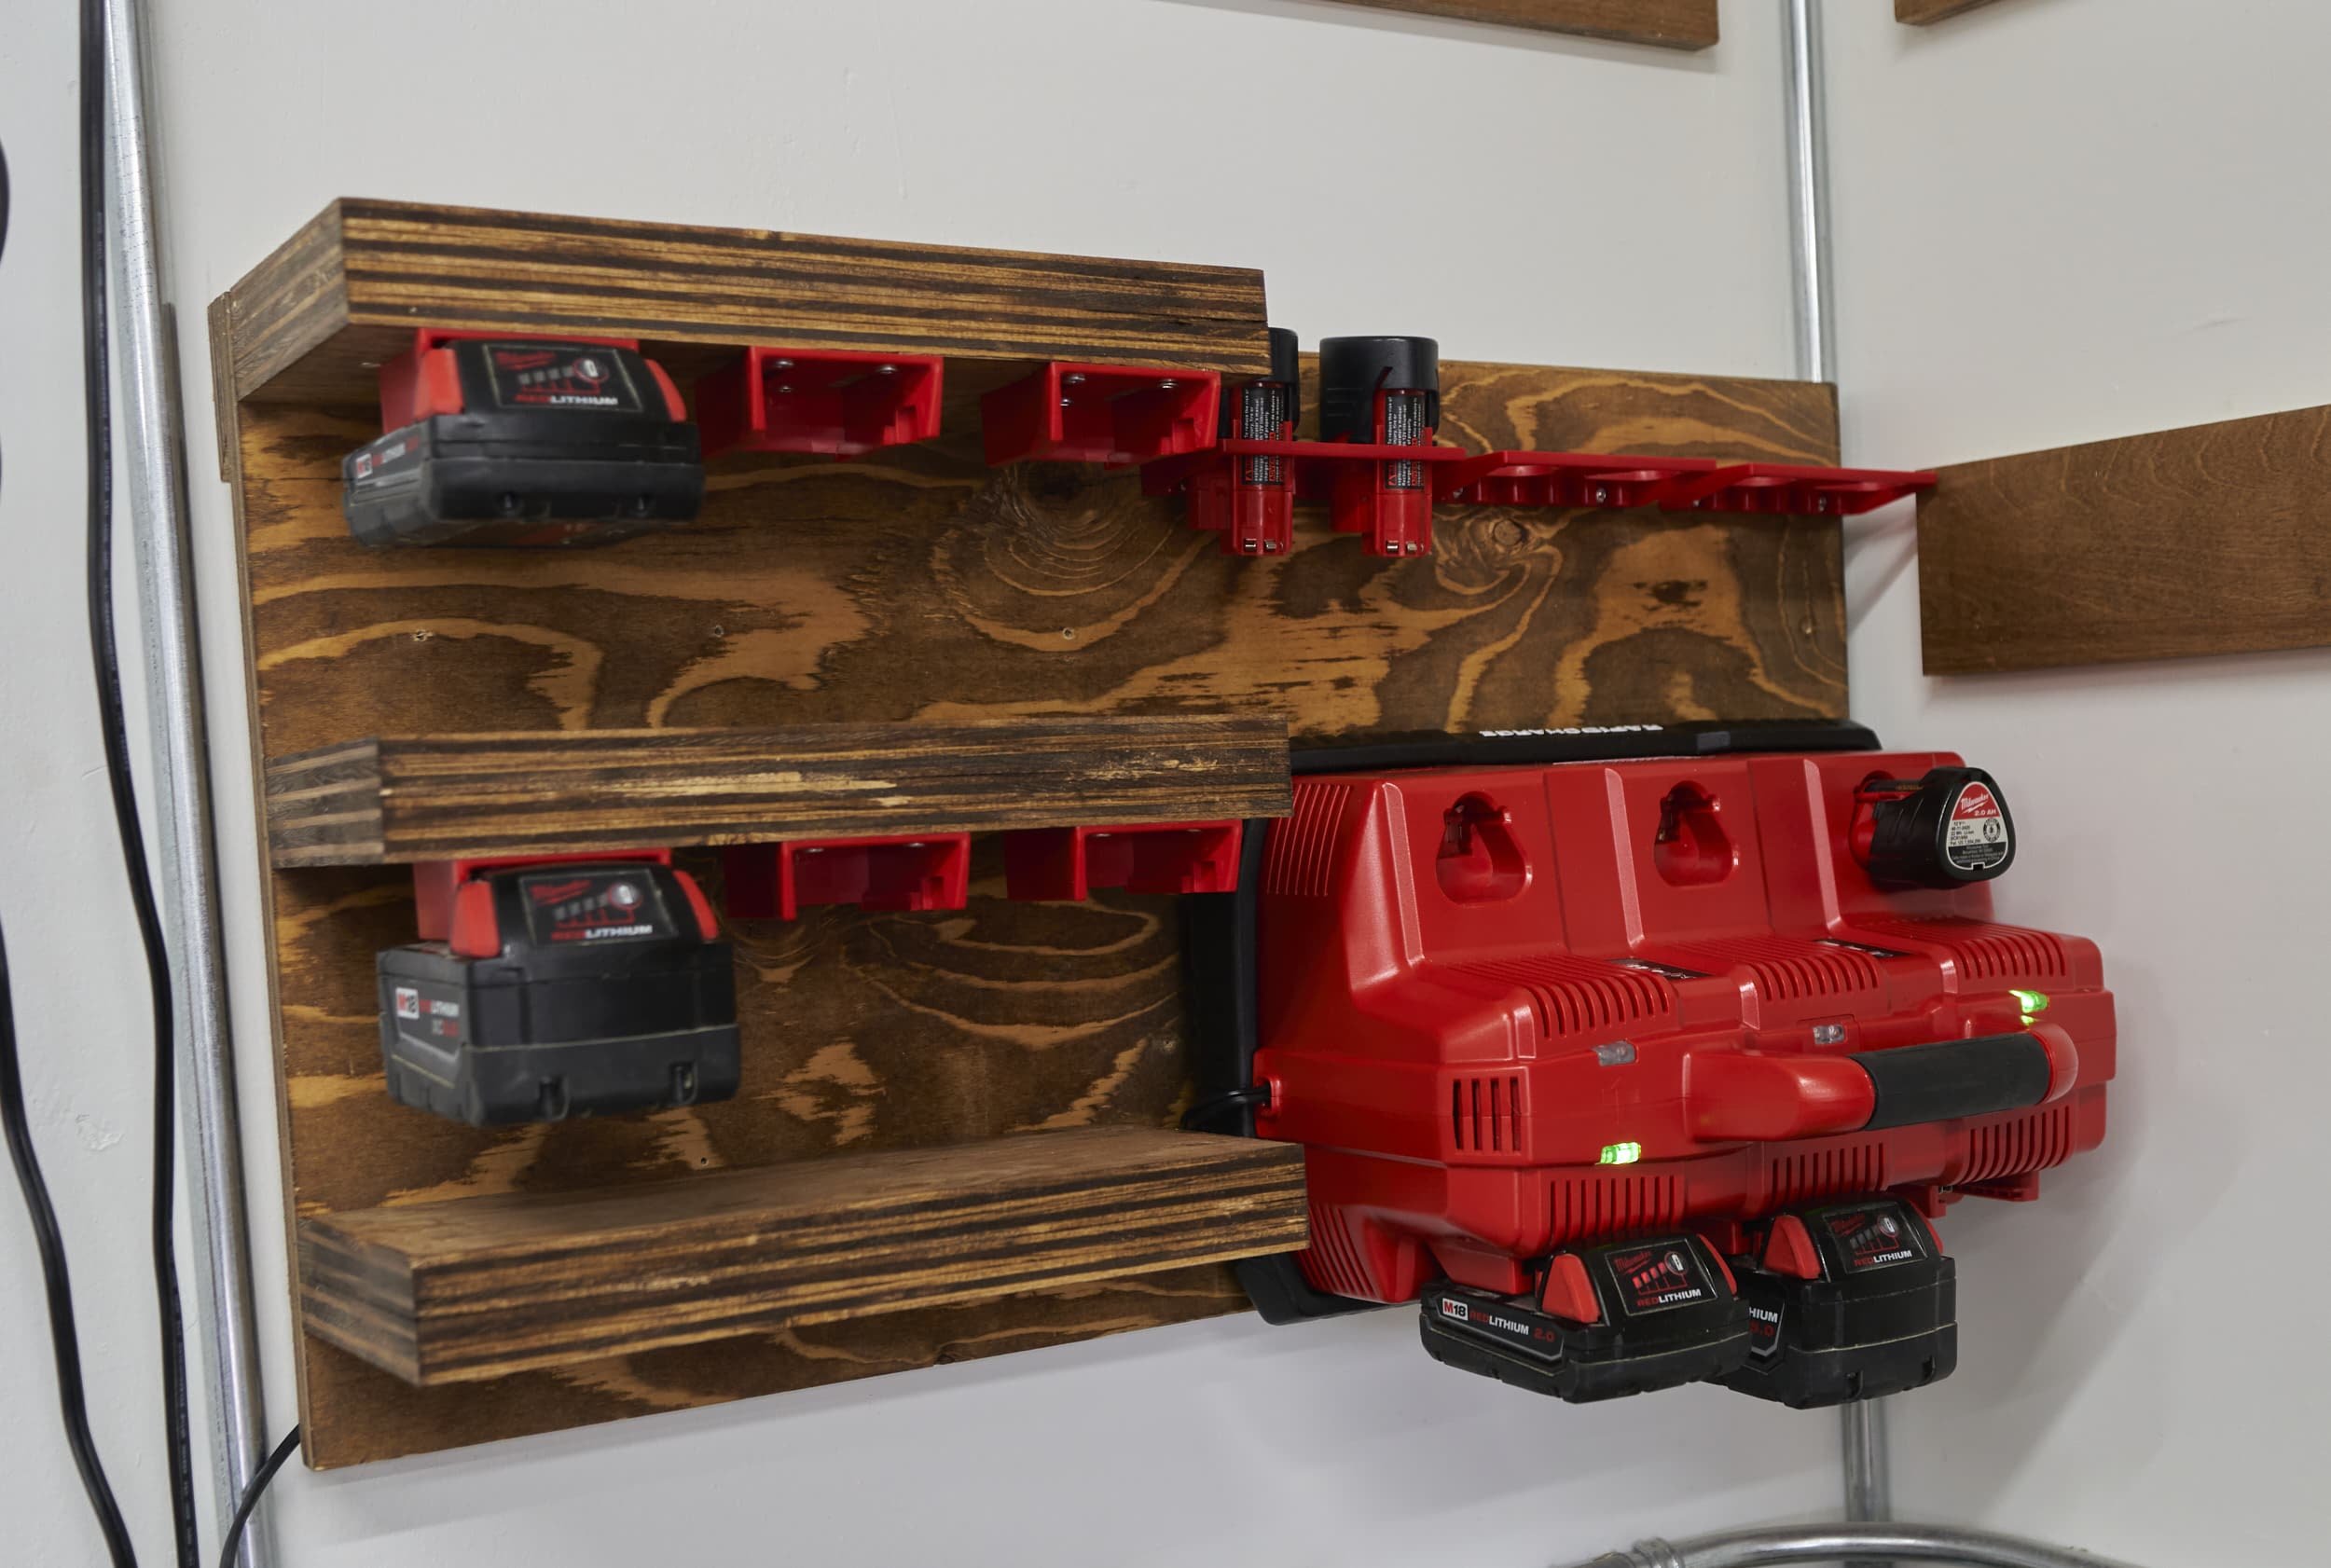
Step 4: Finishing Touches
To finish this off, I bought a couple more clips to fill out the rest of the charging station and I also picked up some tool-mounts so that I could mount some battery-related accessories in this area. To tidy up the whole thing, I installed a small little power strip.


Milestone
For now, the charging station is done and ready to use! I have some ideas for some small improvements:
I’m slowly phasing out my older Ryobi batteries and eventually, they will all have built in battery gauges. Once that’s done, I can get rid of my standalone Ryobi fuel gauge and get another power source
Replace one of the M12 battery holders with a pair of M12 tool holders — this way I can keep a couple of M12 Compact Charger & Power Source (48-59-1201) units with their associated batteries (generally speaking, these stay with the heated jackets so I may not end up getting this)
Replace one of the M18 batter holders with a M18 Power Source (49-24-2371) so I can also keep this in the same area
For the EGO batteries, I’ve been toying with the idea of getting something like the Power+ Nexus Escape (PAD1500). There is a bit of room below the chargers for me to mount this if I do end up getting it.
Done for now!
Mixups, Surprises and Lessons Learned
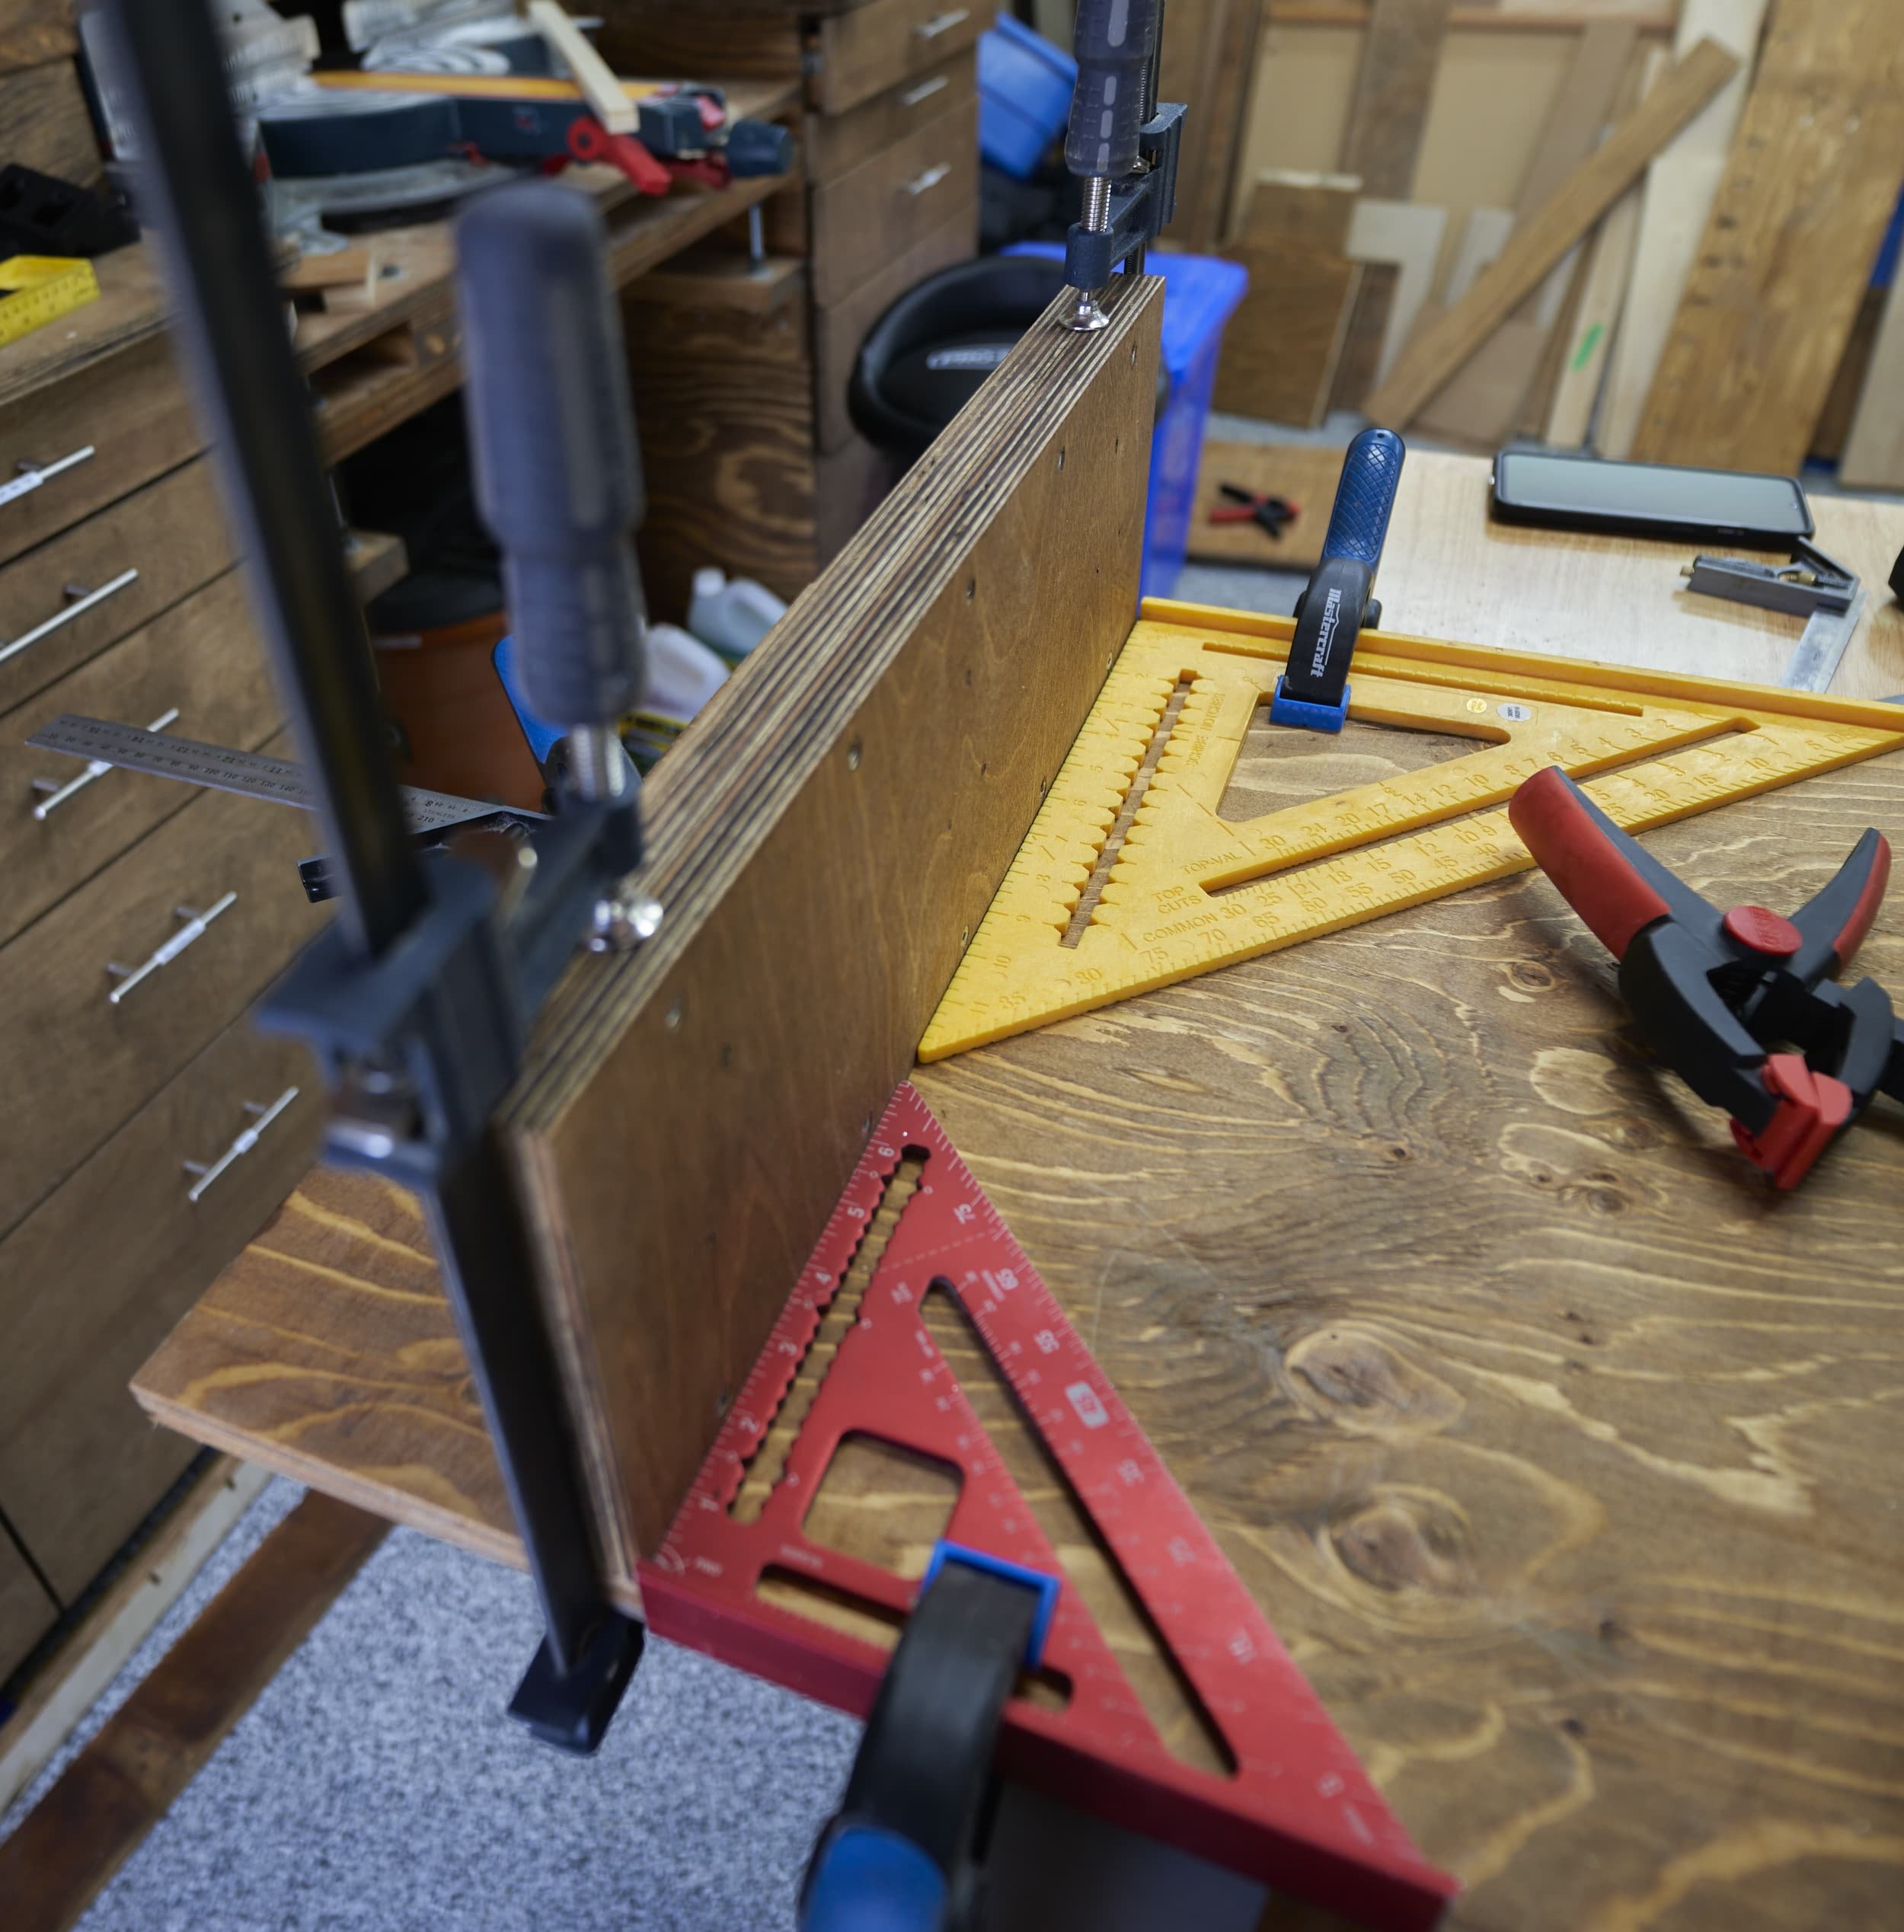
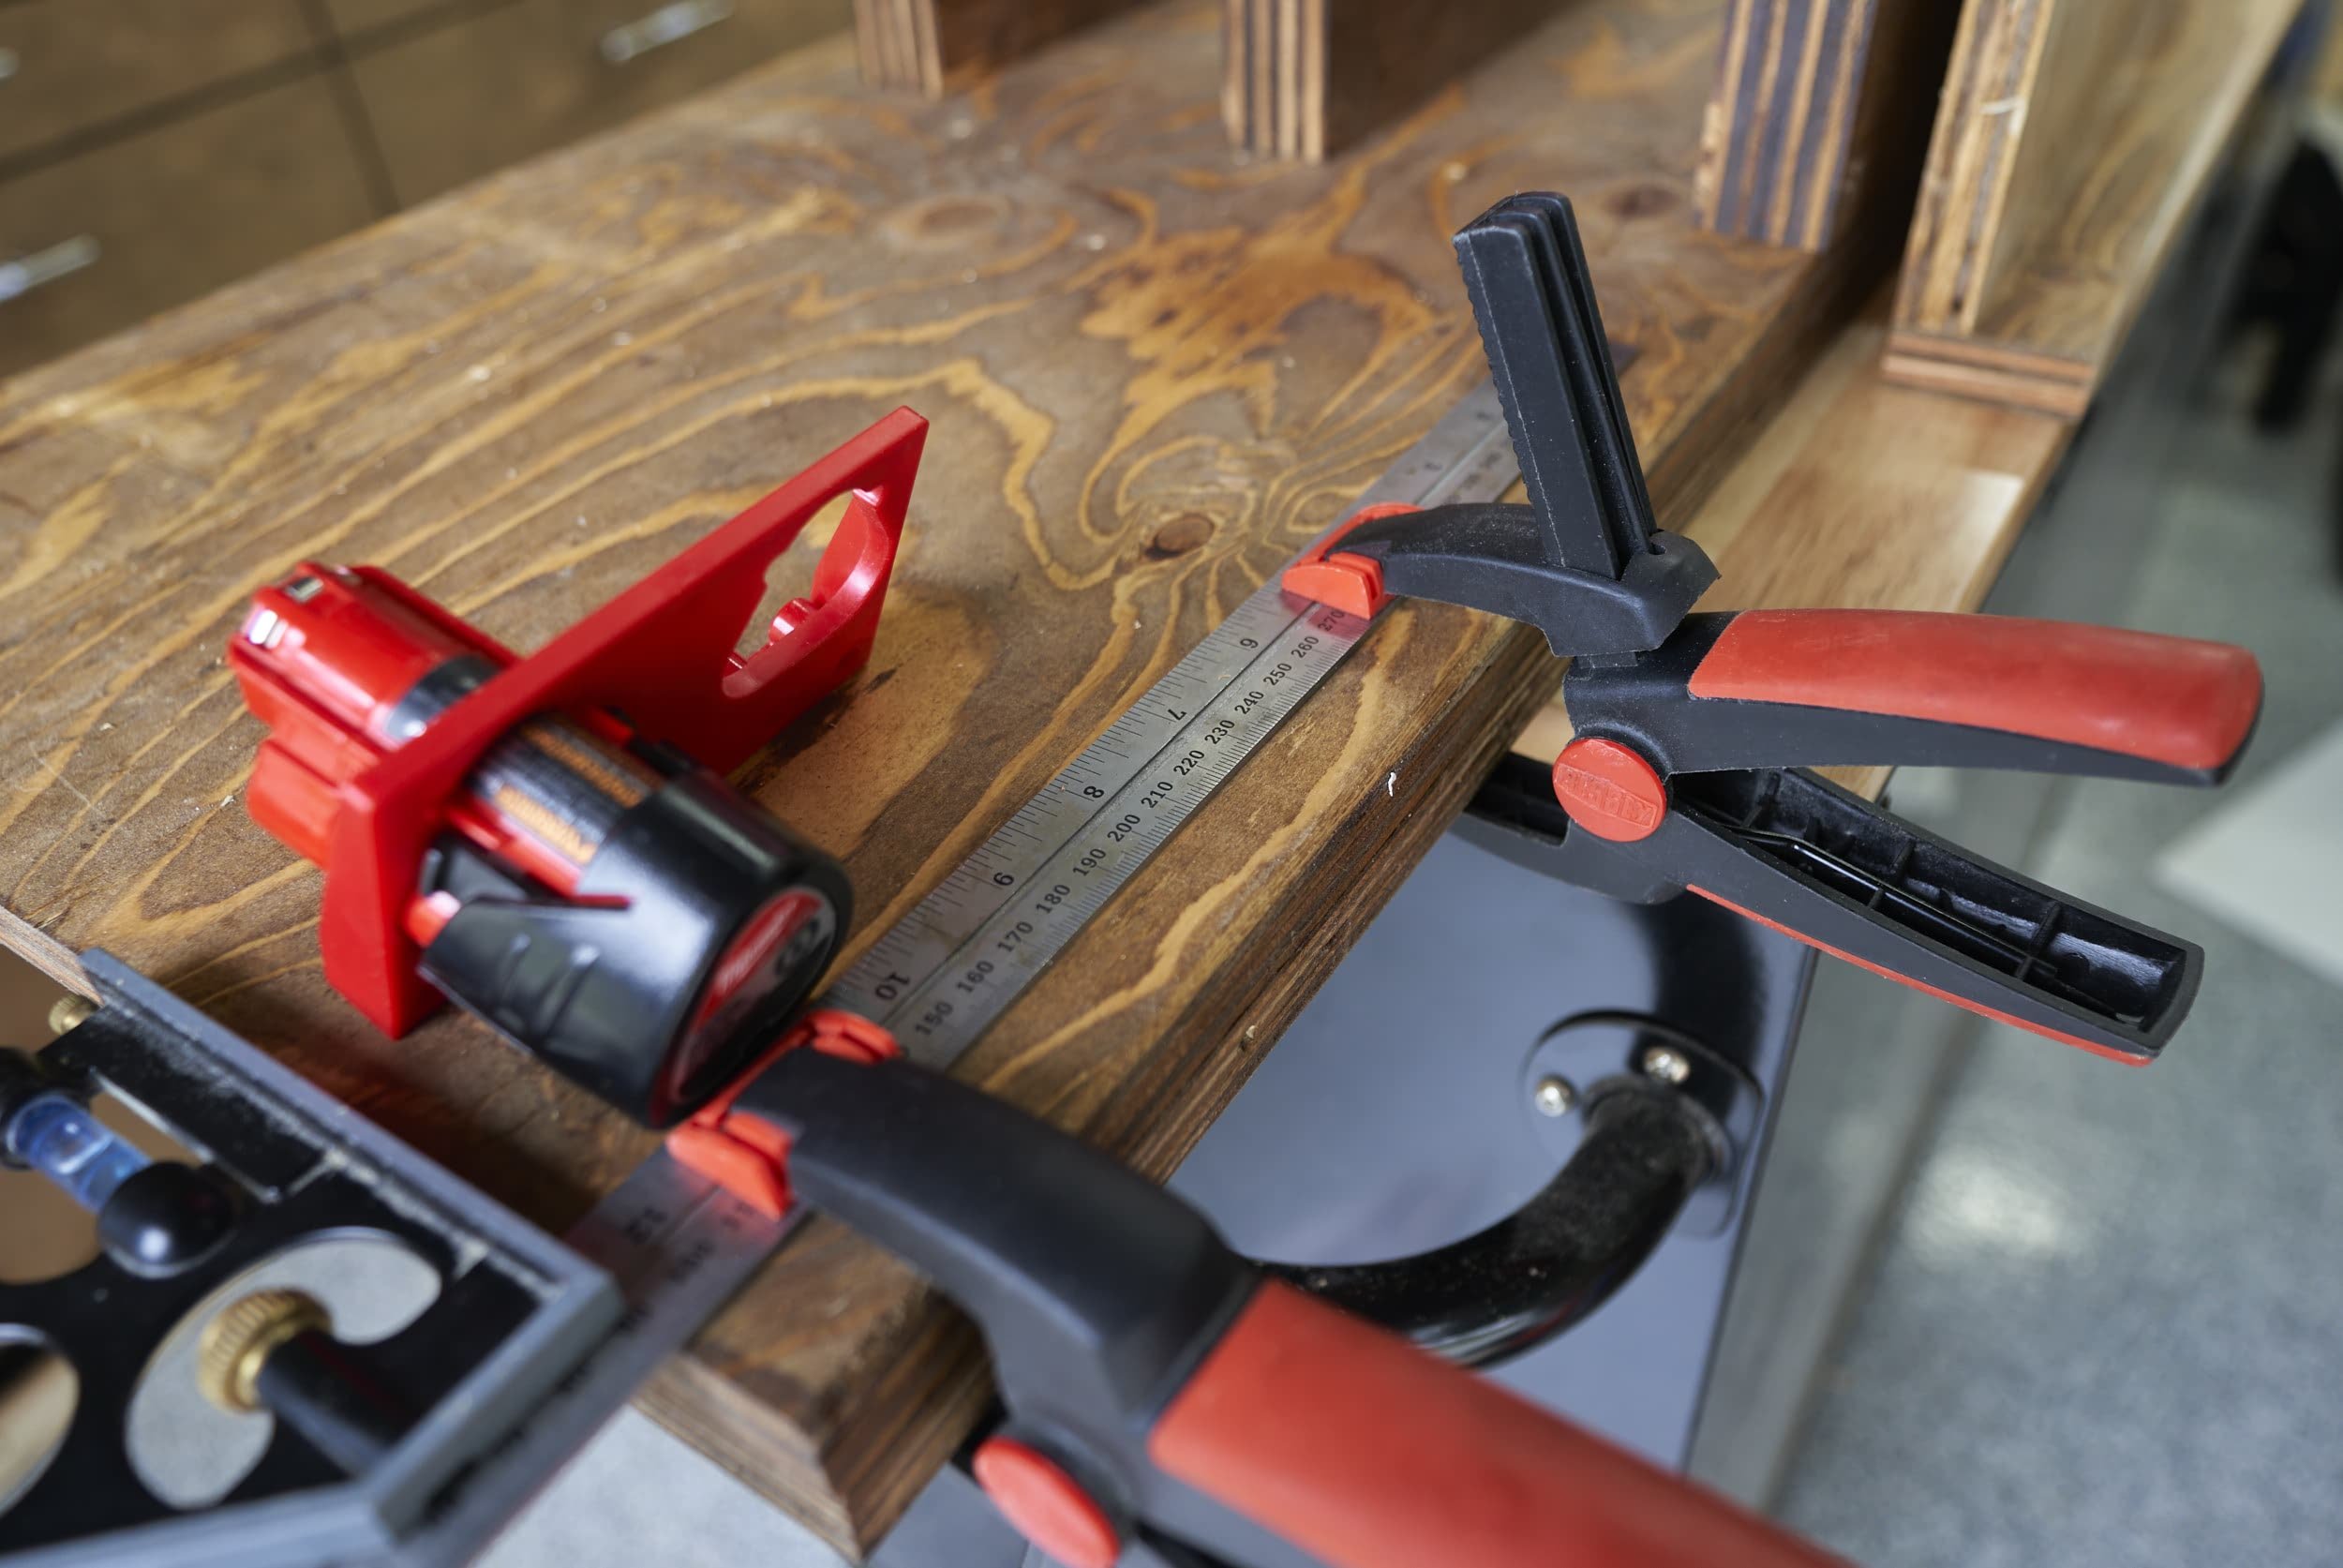
By far the biggest mix-up was making the tolerances on the backer board too tight. I had about 28” between the conduit on the left and the wall so I thought that making the backer board 27-1/2 would be plenty of breathing room. Well, I forgot about the fact that the outlet sticks out a bit past the conduit. Oops! I had originally laid out my Ryobi battery holders in two rows of 4 but had thankfully still had room to reshuffle things around. A few cuts with the jigsaw and everything fits neatly.
I was working with the materials I had on hand, but I kind of wish the Milwaukee charging station was a bit taller so I had a bit more space below, to mount some accessories.
One thing to note is to physically get actual measurements (or products in-hand) to test for sizing: it wasn’t a specific problem for me since I assumed they would be, but the newer Ryobi batteries were ever so slightly longer/wider than the older ones!
Product links may be affiliate links: MinMaxGeek may earn a commission on any purchases made via said links without any additional cost to you.